So I finally tried dying yarn on my own for the first time, and I decided to ignore the expensive dying kit I bought at the KW Fair and go for Kool-Aid technique first. I was really surprised, I’ve never done this before and the results turned out beautifully, definitely a fun home project for anyone looking to make their own custom yarns! I don’t have a lot of wisdom on the subject, but for the record here is what I did in case anyone else wants to try it.

Here is the yarn I used – 200 grams of pure Alpaca. I’ve read that Kool-Aid doesn’t work with synthetic fibers, so I used an all natural skein of pure wool that I bought from an Alpaca farm a few weeks ago. I tied the hank up in a few places to make sure it wouldn’t get all tangled on me, and soaked it in hot water for at least half an hour before starting.

For step 2 we poured out almost all the water, we wanted just enough so that the water only barely covered the yarn in the pot. Then Tito (for I am hopeless at these things) put the yarn on the stove and brought it to a slow simmer. The trick is to not bring the heat up too fast, or to stir it, because these things can cause the yarn to felt.

These were the Kool-Aid flavours we chose. We had no idea what the colours would turn out as but were hoping for red, orange and pink.

While waiting for the yarn to simmer we mixed the Kool-Aid. We used very little water, just enough to dissolve the crystals. Don’t add sugar!

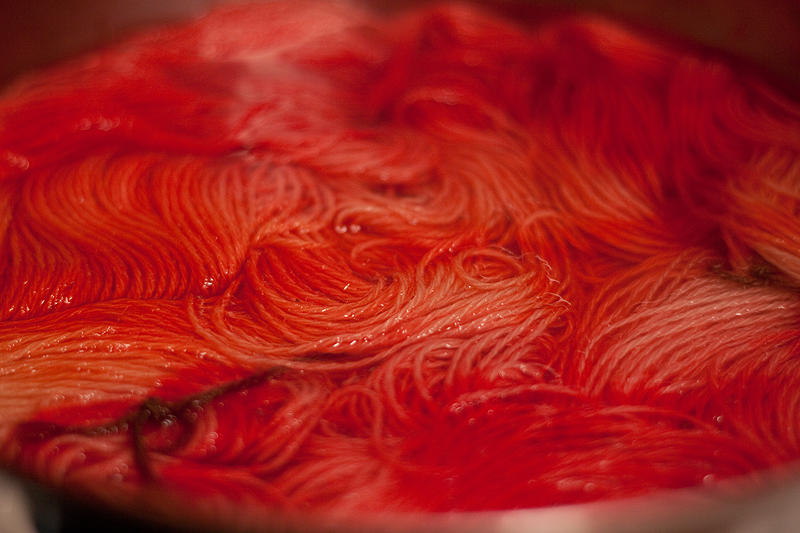
When the yarn was simmering we started to add the Kool-Aid – I poured one colour at one end of the pot, another colour at the other end, and the third colour down the middle.

Orange, cherry and strawberry turned out to be….red, reddish and orangy-red ;o) I’ll need to find more flavour options next time!

After adding my colours I let the yarn simmer for another half hour, just to soak it all in. You want to see mostly clear water – so you know the dye is all in the yarn now. We then took it off the heat and allowed it to cool on it’s own.

When it was cool, we drained it into a colander and used an old towel to gently press out the rest of the water. The results are already looking very cool. Judging by the state of the towel after it seems that it’s quite colourfast.

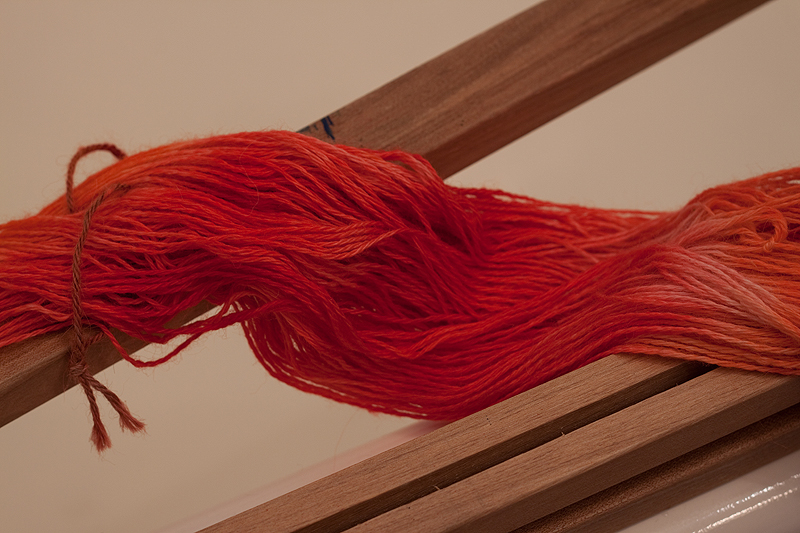
Afterwards we draped it over an old easel to dry, and left it there overnight.

This is from this morning; the colour is great! It’s not quite dry, but when it is I’m really looking forward to working with it. I’ll be picking up another few skeins of alpaca this weekend, and some different flavours to try it again. More pics to come when I see how this knits up ;o)