Most photographers have heard about HDR (High Dynamic Range) Photography. There are lots of great sites that get into the technical nitty-gritty, but in a nutshell HDR photography is a way to even out the light in an image so you get something closer to what your eye perceived. Googling HDR photography will show you the range – from beautifully captured, realistic pieces to over-processed, over saturated, mind-numbingly terrible pieces.
I’ve used Photomatix for a lot of my work, but increasingly I feel that even this delivers a result that looks too processed for me. So I present the Dummy Method of HDR – if you’ve got a copy of Photoshop (or even Photoshop Elements) you’re good to go.
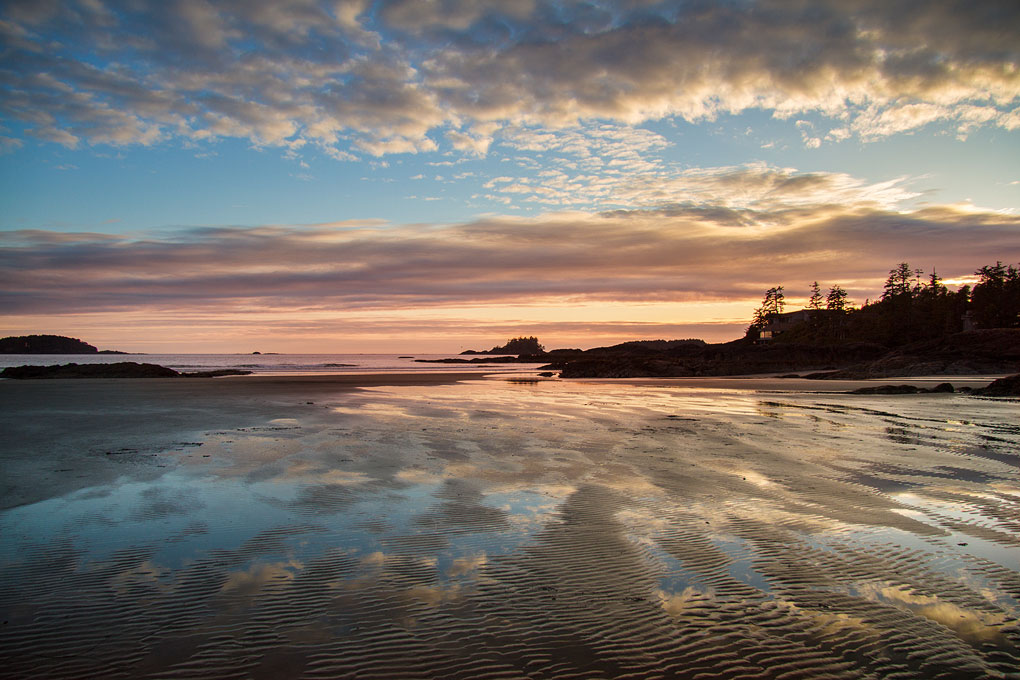
Here’s what you do: bracket your exposure, but rather than bracket them by the traditional 2-stops under, 2-stops over and 1 mid-range, examine your image and break it into different areas based on light. You can see an example below:

Take your photos, as many as you need, based on your analysis of the shot. My shot analysis looked like this:
- 1 shot for the great sky colour
- 1 shot for the detail in the foreground sand and the rock
- 1 shot for the reflection in the water by the rock
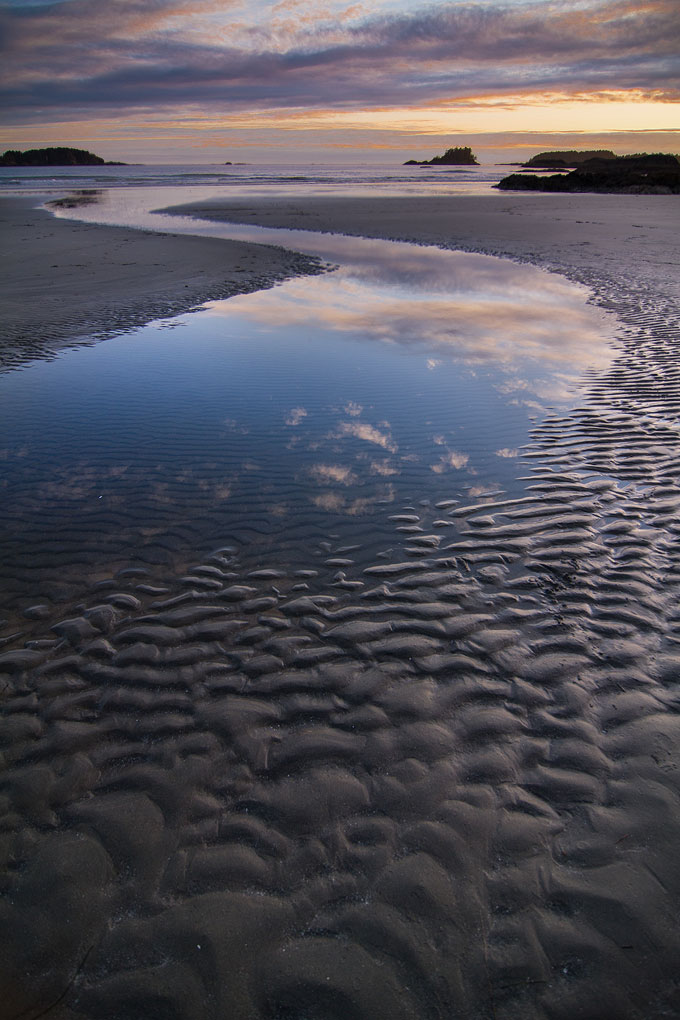
Then (here is the dummy part) load them all up into Photoshop as separate layers in one document, grab yourself a big, soft eraser tool, set it to 30%-40% opacity and erase away the bits of every shot that you don’t need, building up the effect as you go (If you’re familiar with Photoshop you can use layer masks to non-destructively accomplish this bit instead). Here’s my result:

And here are a few more:
You can even do this in Photoshop Elements, it’s got layers and an eraser and that’s really all you need :) I’ve been shooting HDR for about 7 years, and I honestly believe that, simple as it is, this gives me the best, most consistent results and the greatest control over the final product.