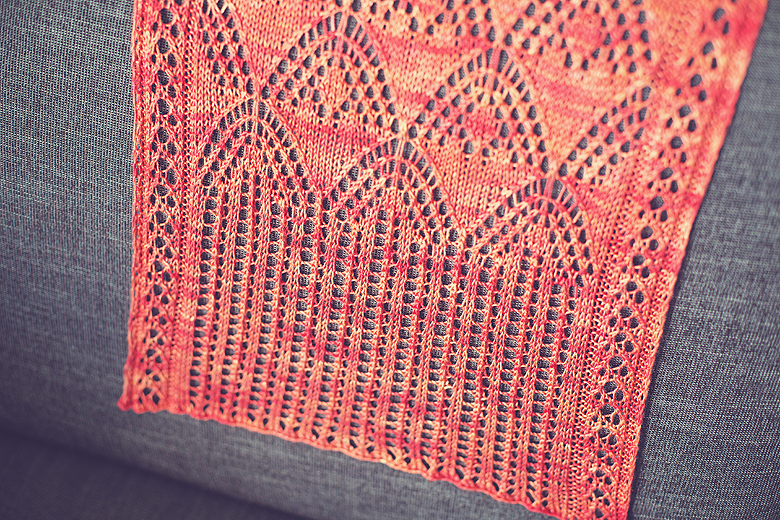
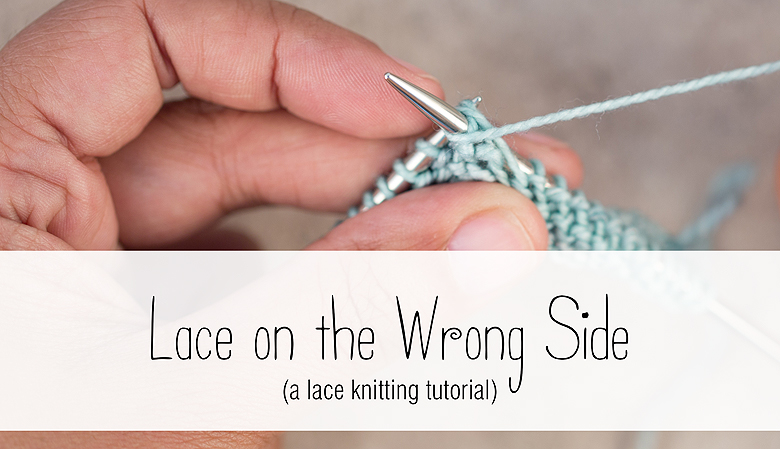
In my latest design, ’Sandy’ the lace pattern is worked on both sides of the piece. This can sound intimidating, but working lace on the purl side is really quite easy, promise :) I shot photo tutorials for the pattern to help folks navigate the lace.
On the front of ‘Sandy’ I use yarn overs (yo) left-leaning decreases (ssk) and right-leaning decreases (k2tog) on the right side. On the purl side, yo becomes ‘yarn around the needle’, the left-leaning decrease is a ‘slip, slip, purl’ (ssp), and the right-leaning decrease is a ‘purl 2 together’ (p2tog). Grab some needles and follow along, it will open up a whole new world in lace patterns!
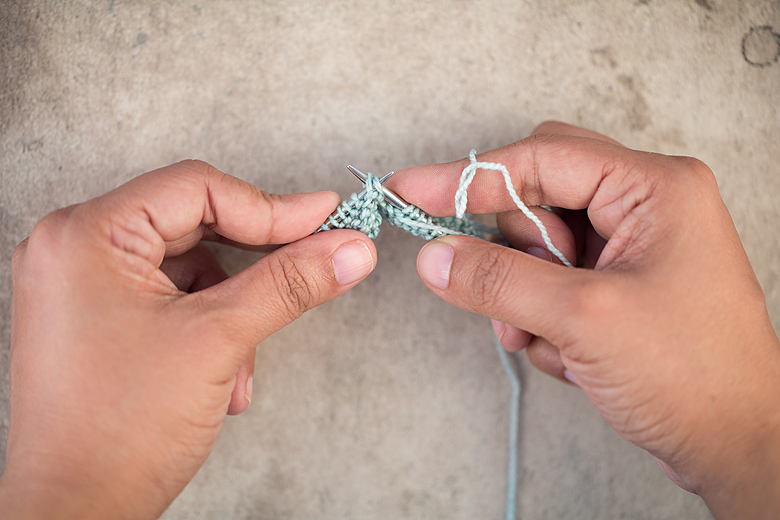
Purl 2 together (right leaning, wrong side decrease)
1. Insert the right-hand needle as if to purl, making sure you go through 2 stitches, as you would for a knit 2 together
2. Wrap the working yarn as if to purl

3. Slide both stitches off

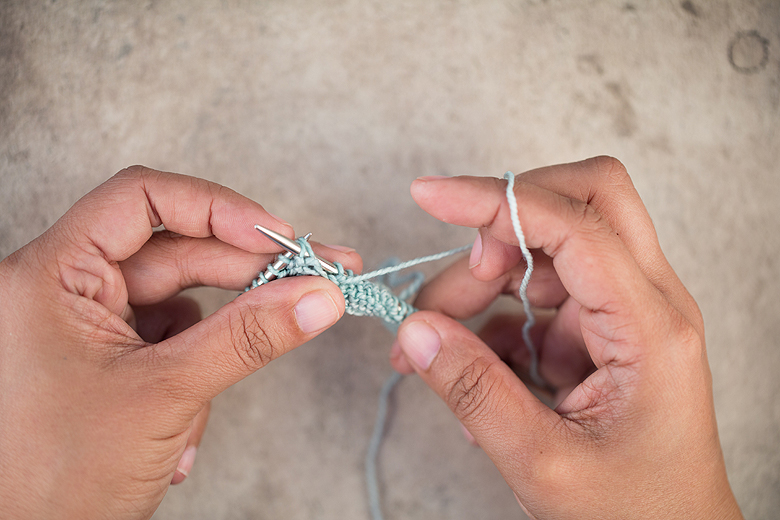
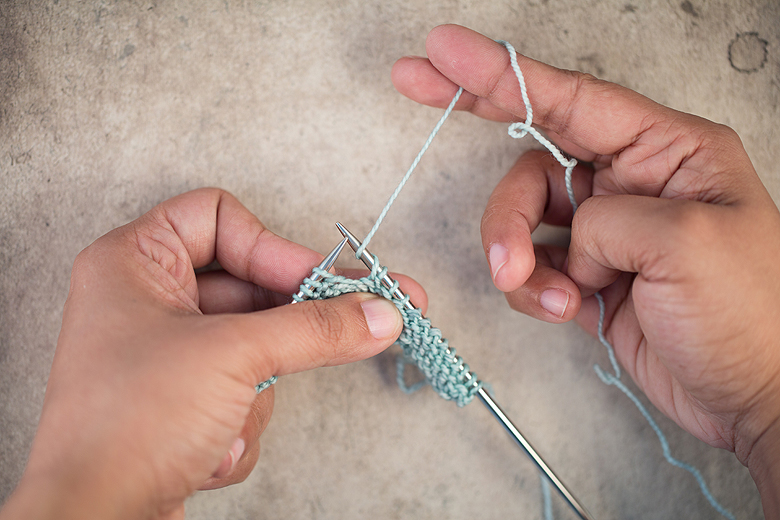
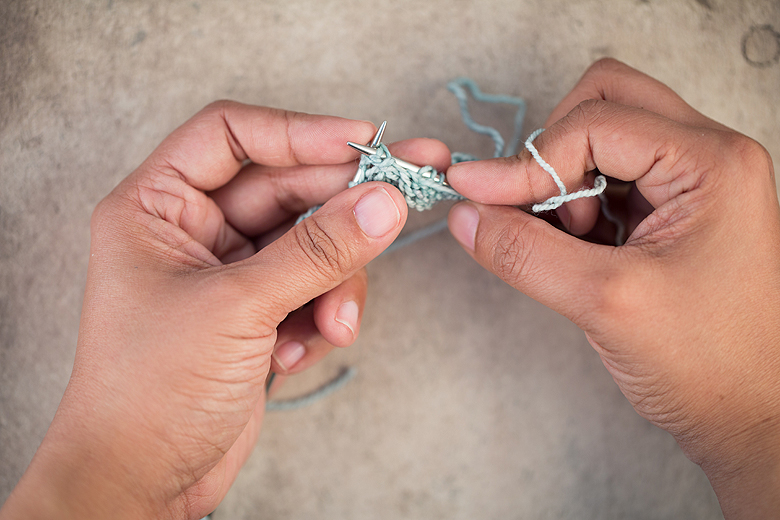
Yarn around needle (wrong side increase)
1. On the right side you would normally bring the yarn forward, but it’s already forward! What to do?
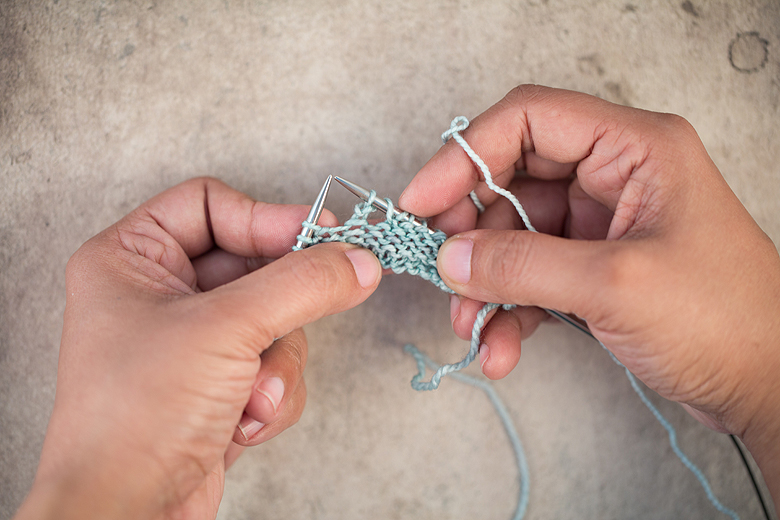
2. Wrap the working yarn around the right hand needle, counter-clockwise
3. When you work the next stitch you will see the yo increase. Easy!
(This yarn over works on the wrong side of the work, or anytime you find yourself performing a yarn over between 2 purl stitches on the right side. )
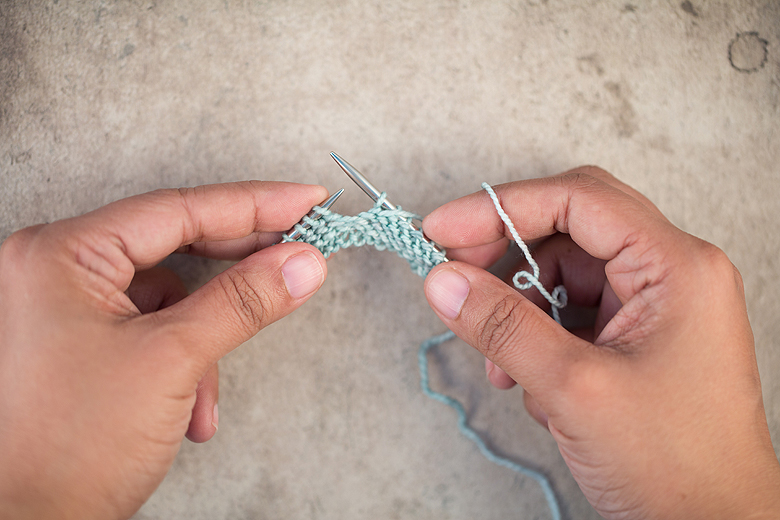
Slip Slip Purl (left leaning, wrong side decrease)
1. Slip one stitch as if to knit
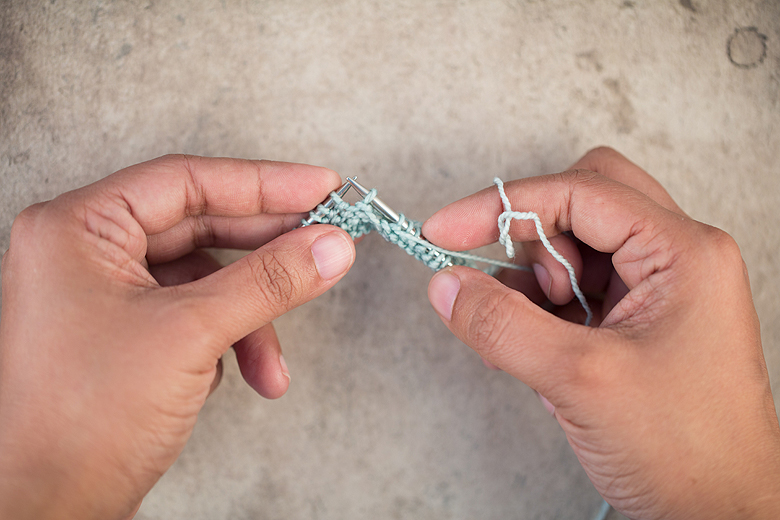
2. Slip another stitch as if to knit
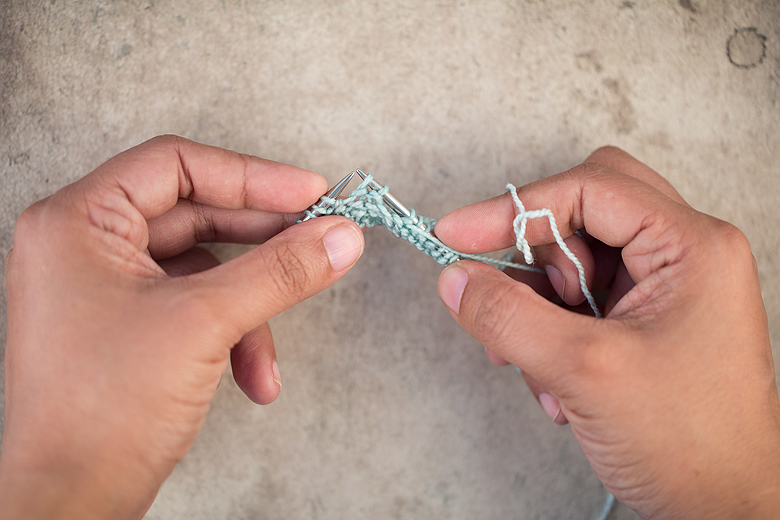
3. Return these stitches to the left needle in their new, twisted orientation
4. This is the only tricky bit, reach around to the back and Insert your right hand needle into the back loops as if to purl
5. Wrap the working yarn as if to purl
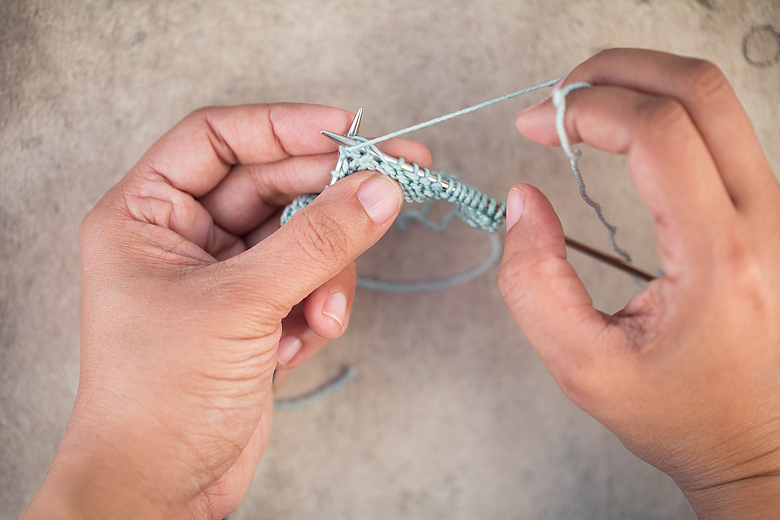
6. Slide both stitches off
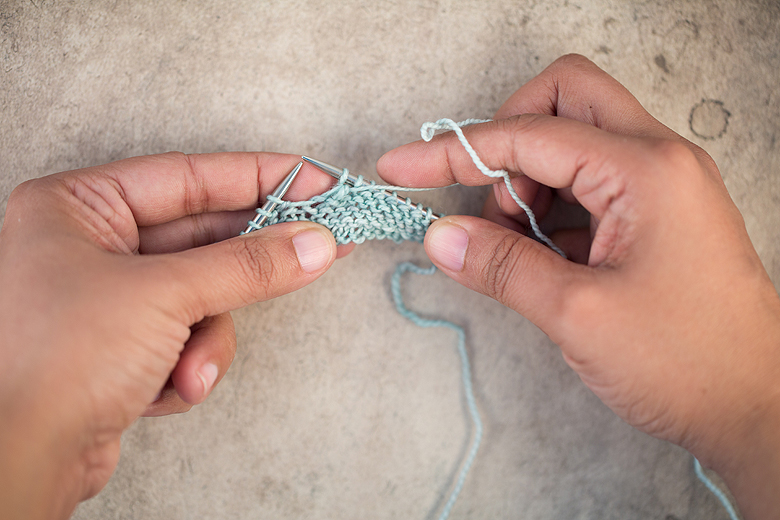
Wrong side patterning is used on only 4 rows of the 28-row repeat, but it really adds a lovely touch to the lace, and it’s a handy thing to know!