Tito and I bought a shoe rack/bench from IKEA for our front hall a few months ago. It’s a nice rack, but it was missing that element of quirky creativity that defines our home, and last night we decided it would be fun to add a customized, cushioned seat cover. It’s super easy, here’s how we did it!
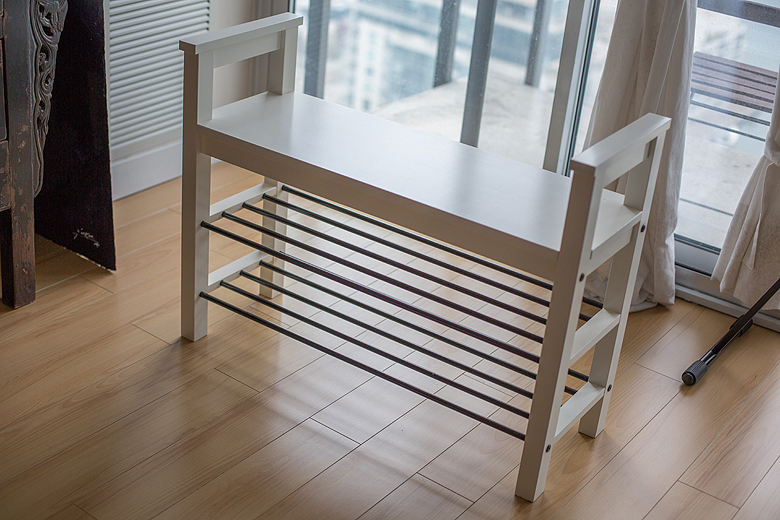
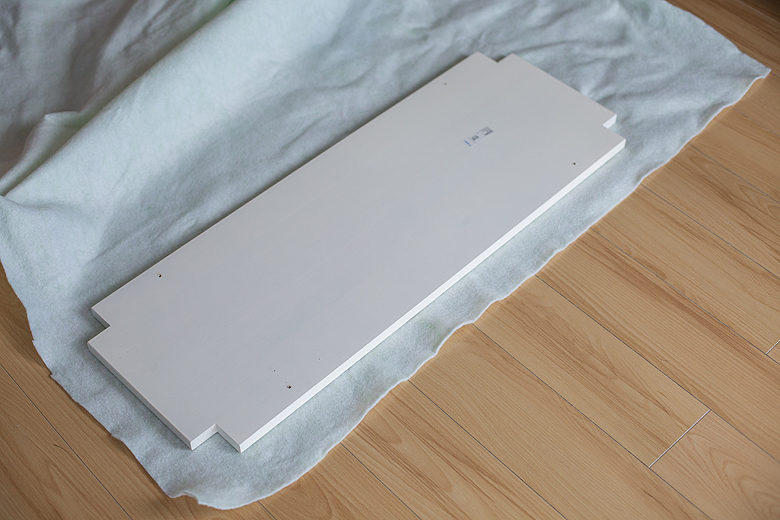
Here’s our shoe rack.
I removed the top of the bench,
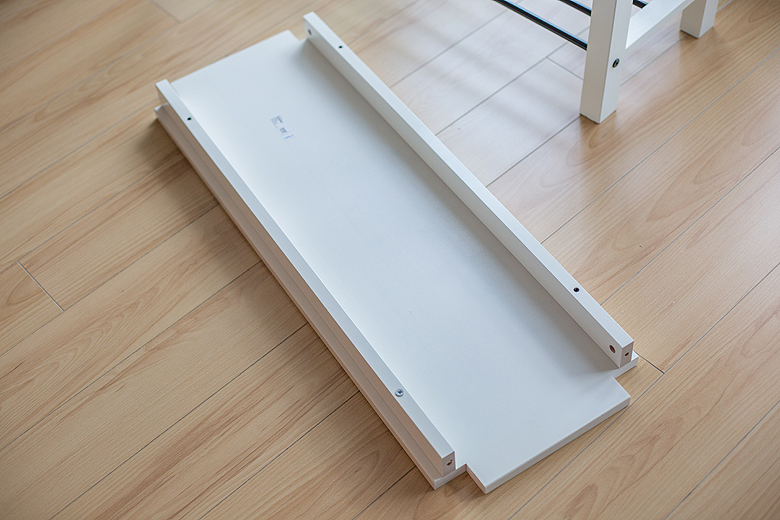
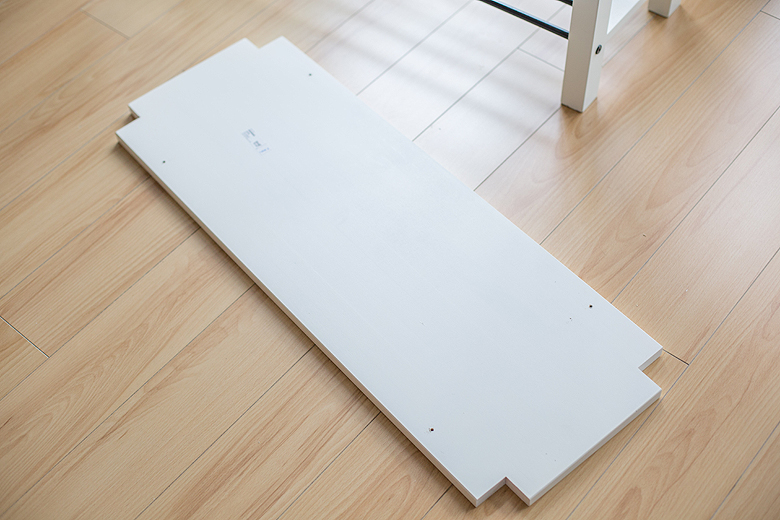
and also removed the side panels underneath it, to leave behind just the bench.
This is quilt batting, and it’s what I used to create a nice cushy seat. I lay the bench down on top
and used it as a template to create 4 identical stencils.
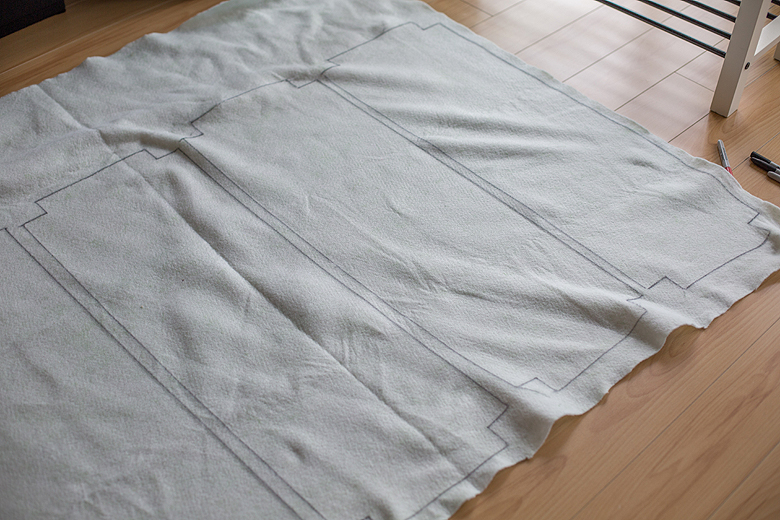
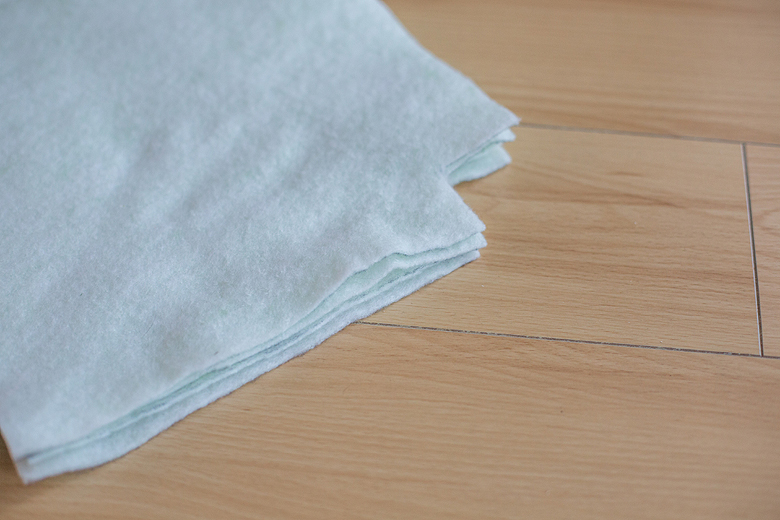
After cutting out the 4 stencils, I stacked them on top of each other and set them aside.
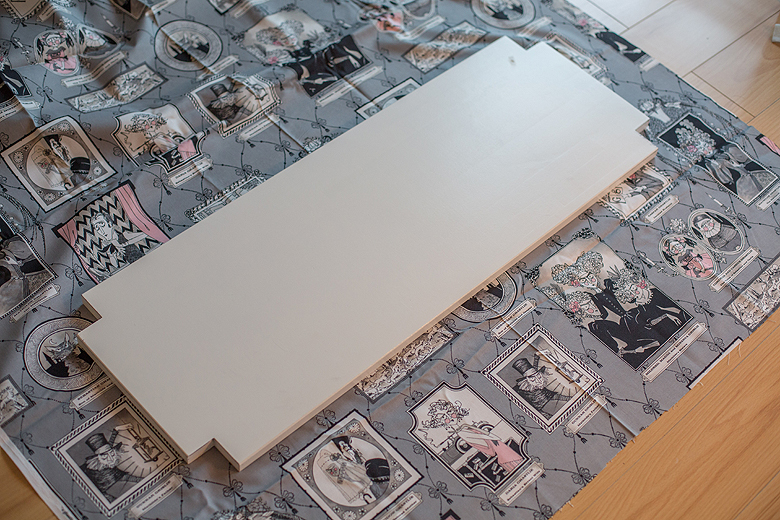
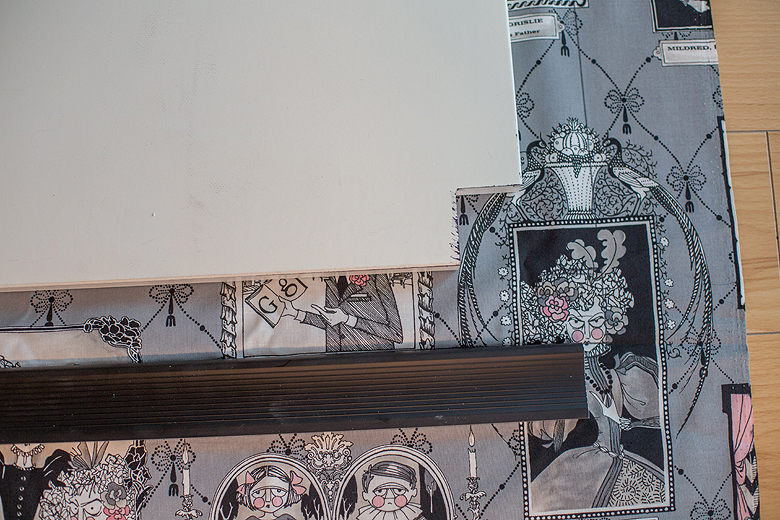
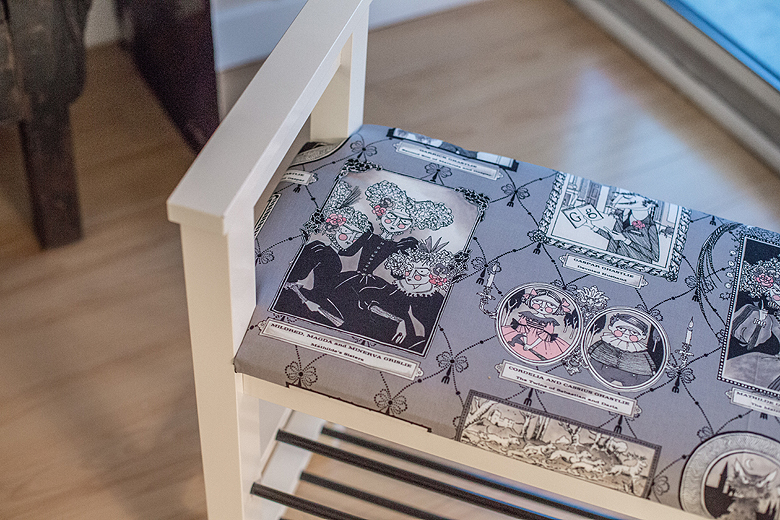
Then I chose my fabric cover. This is an adorable Edward Gorey’esque print that I purchased at Log Cabin Yardage last summer, and it’s been sitting in my stash waiting for just the right project. I lay the cover down on top, being careful to keep it level with the artwork in the print.
I used a straight edge to create an outline that was offset from the bench by 2 inches.

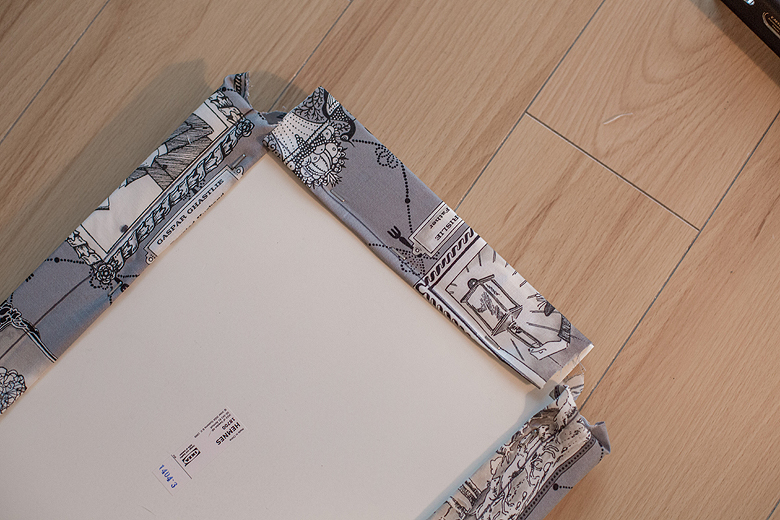
And then I moved my straight edge and created a 2nd outline, offset by 2 more inches. There is probably an easier way to do this, but this worked for me. The marker was not going to be visible in the final piece and I needed the extra fabric to make a secure join to the bench.
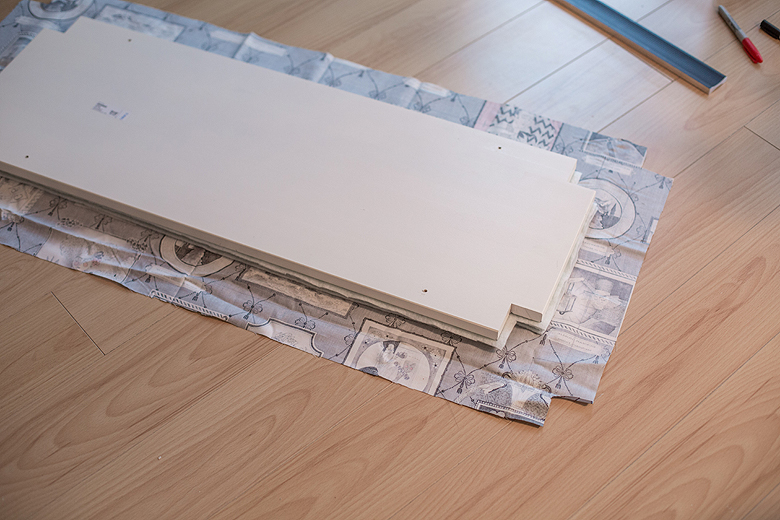
I cut out my fabric stencil, and laid it face down. Then I layered my quilt batting on top.
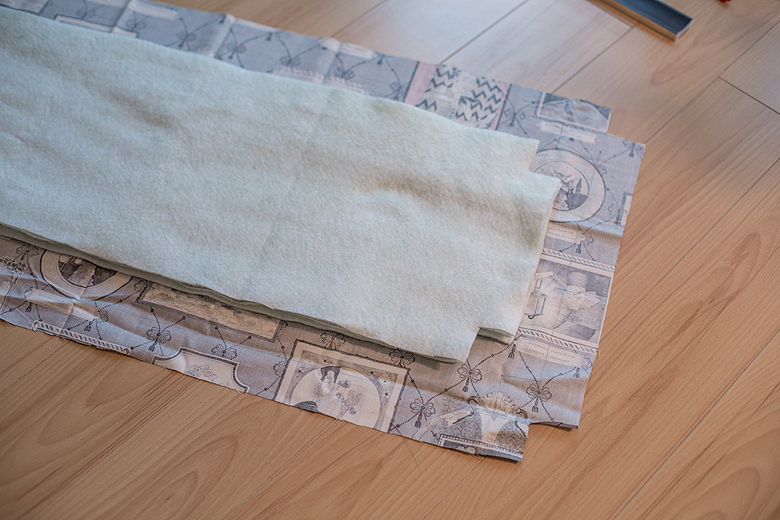
And finally, the bench itself.
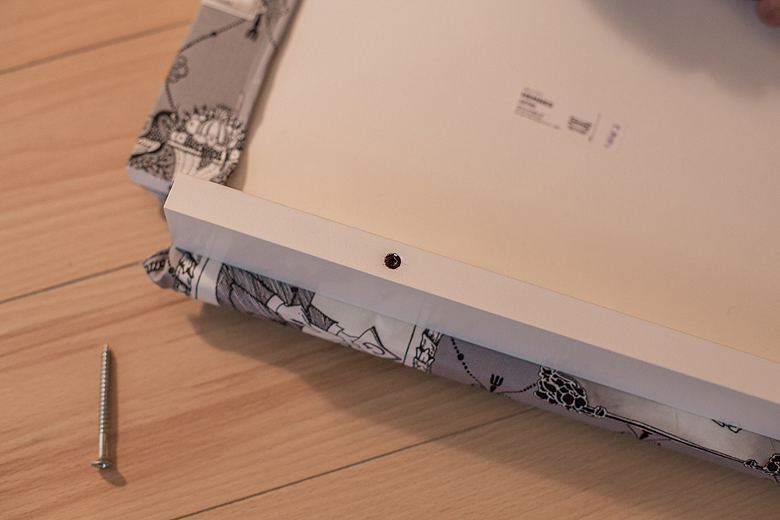
I folded the sides so they were double thick, and used a staple gun to secure them in place. It’s helpful if you remember to mark where the hardware holes are as you go along so you don’t need to hunt for them when you’re adding the side panels back on.
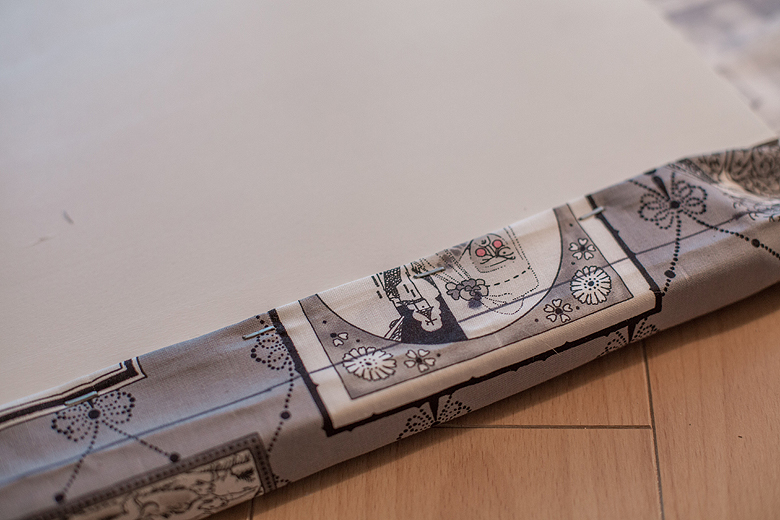
I didn’t need to be very neat about this next bit. I folded, and stapled, and added staples where things looked messy and when I got to the corners I treated them like a clumsy-but-serviceable gift-wrapping job and added more staples to hold it all down.
Lastly, I screwed back on the side panels, and reassembled the bench.
And here is our finished result! It’s adorable, and I’m so glad I finally used that fabric.
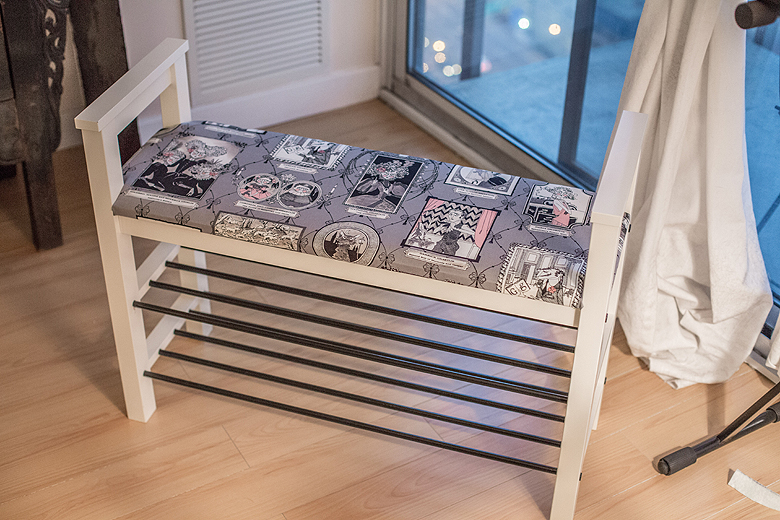
You can see that it looks neat and tidy even at the corners, because once the bench is reassembled all the messy staple work is hidden.
Definitely an improvement ;)