Today I wanted to talk a little about product photography and how I get even lighting on my shots. For an example I’ll use a piece of pottery.

Here is a photo of one of my pitchers. Pottery is very hard to shoot because it’s shiny & colourful. Any picture of my pottery doesn’t do it justice if there are sharp, bright highlights and the colours can’t shine. So first I fix the lighting issue by aiming 2 stand lamps at it.
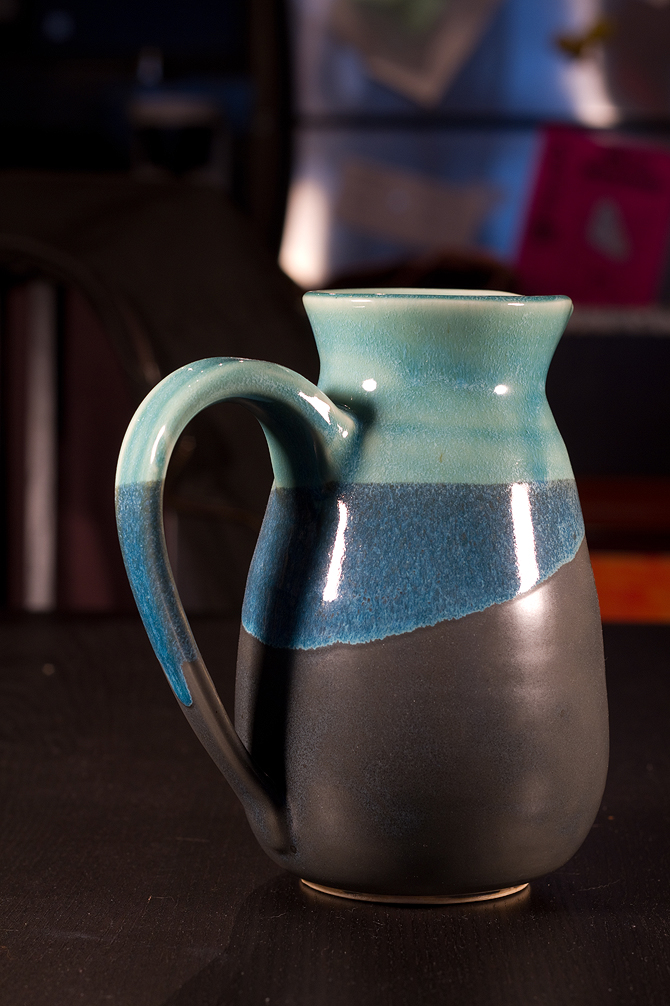
Starting to look better but there are 3 huge problems with it.
- The background is distracting
- The shadow of the handle is harsh
- The highlights are too sharp and bright
Now I add the lightbox, to soften up the light and neutralize the background. My set up now looks like this.
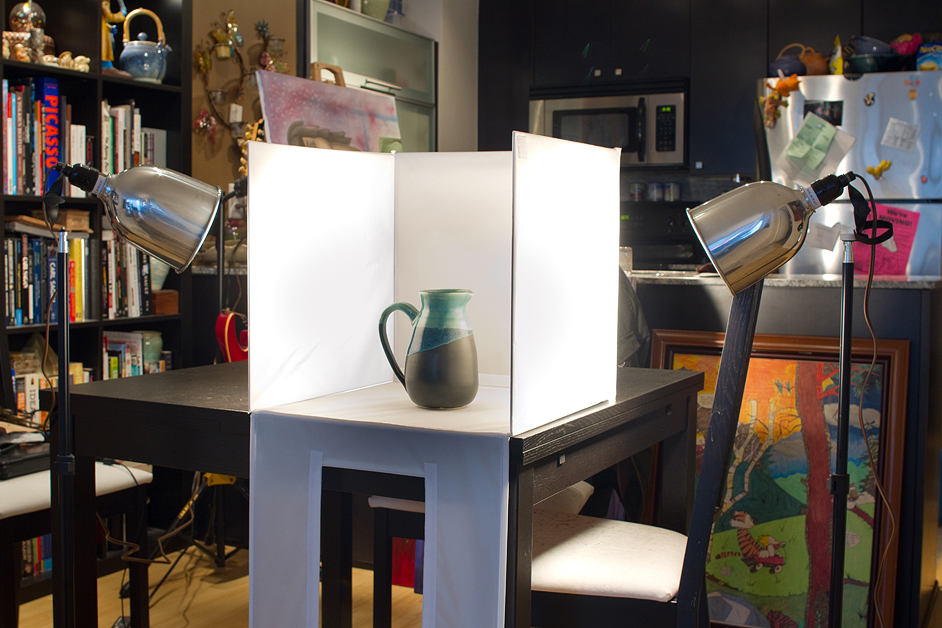
The result is a shot that looks like this:
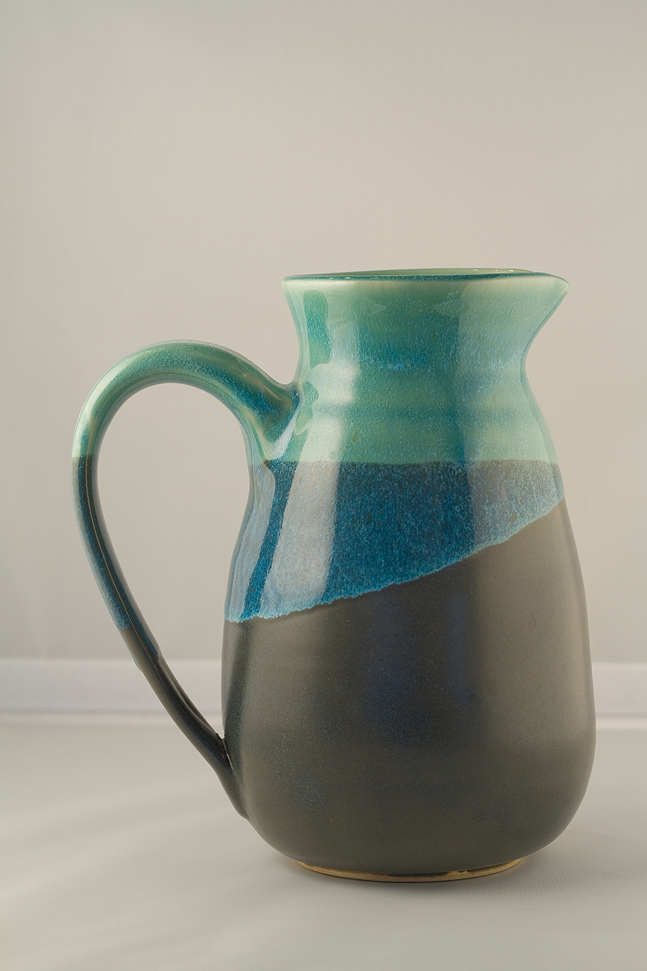
Definitely looking better! Now, the background is still not neutral enough for me so I’m going to insert a sheet of neutral grey fabric that will drape over the top of my lightbox and over the edge of the table. Then I place my pottery on the fabric, and my set up now looks like this:
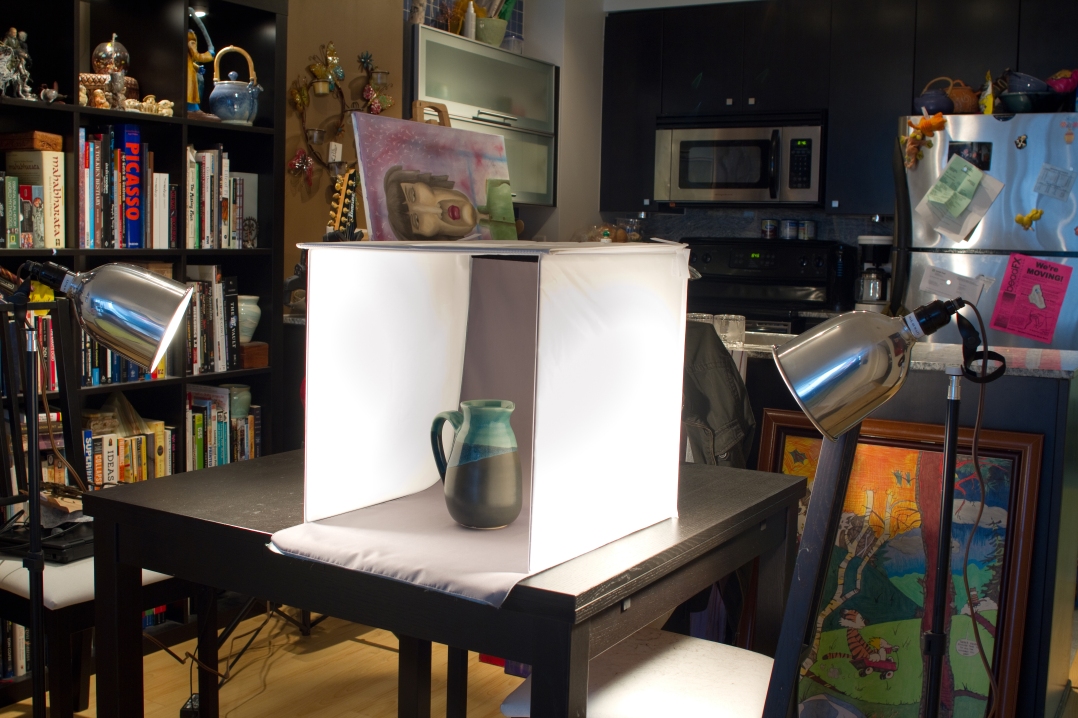
Taking a shot gives me this:
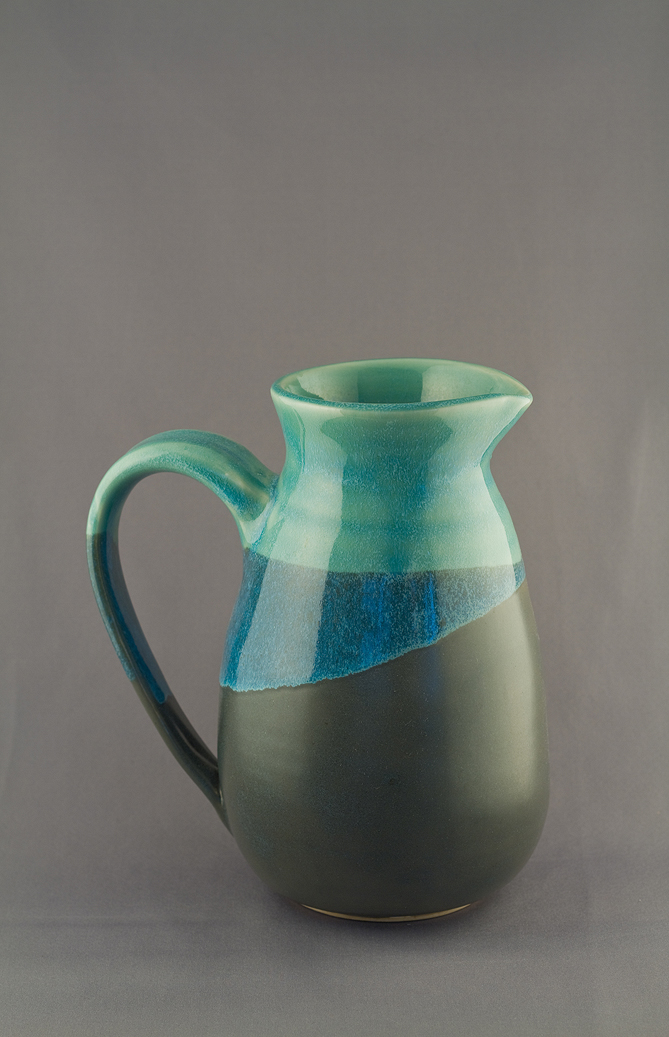
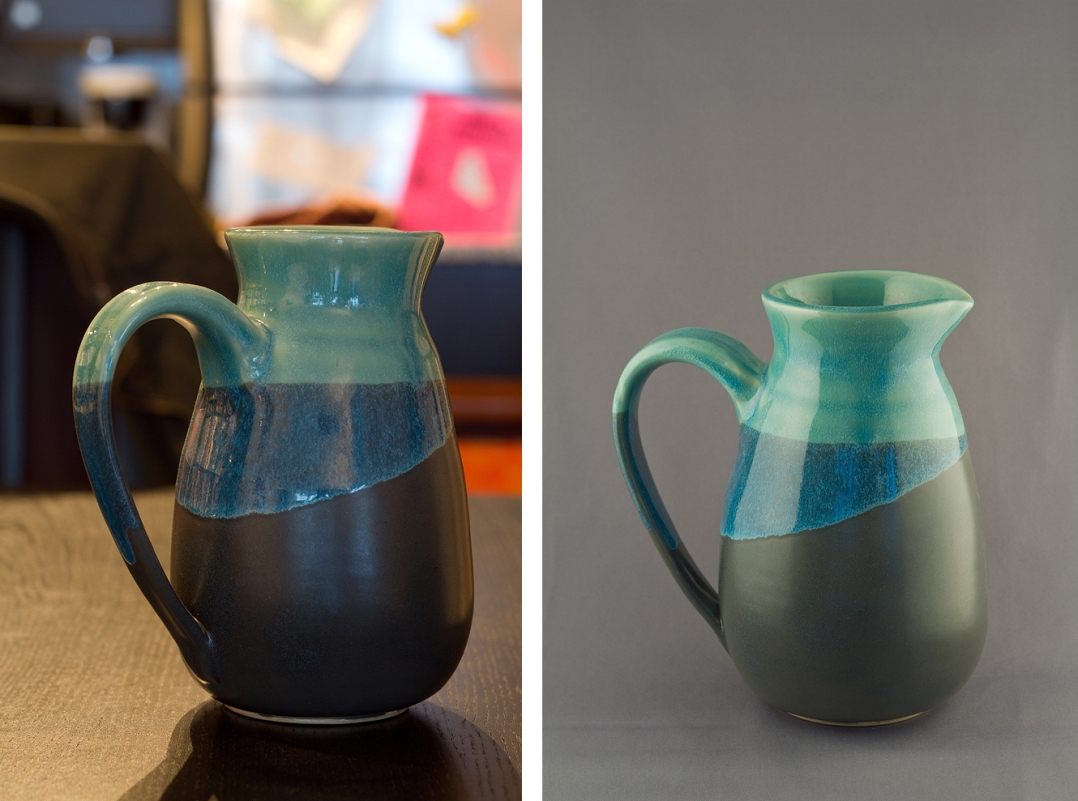
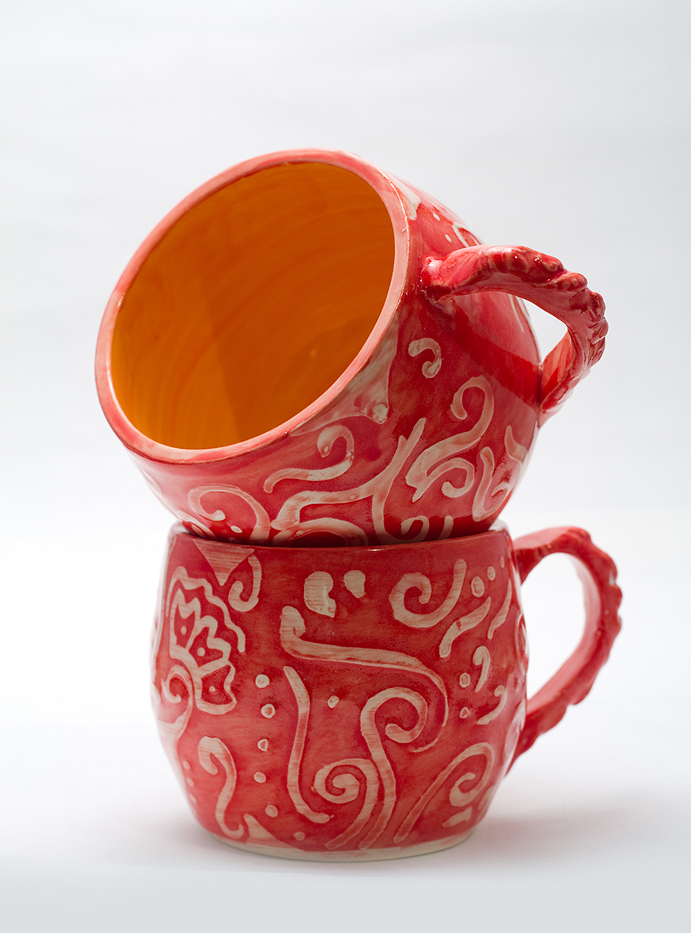
Perfect! And that’s how you use a lightbox to improve your product photography. Here is a before and after.
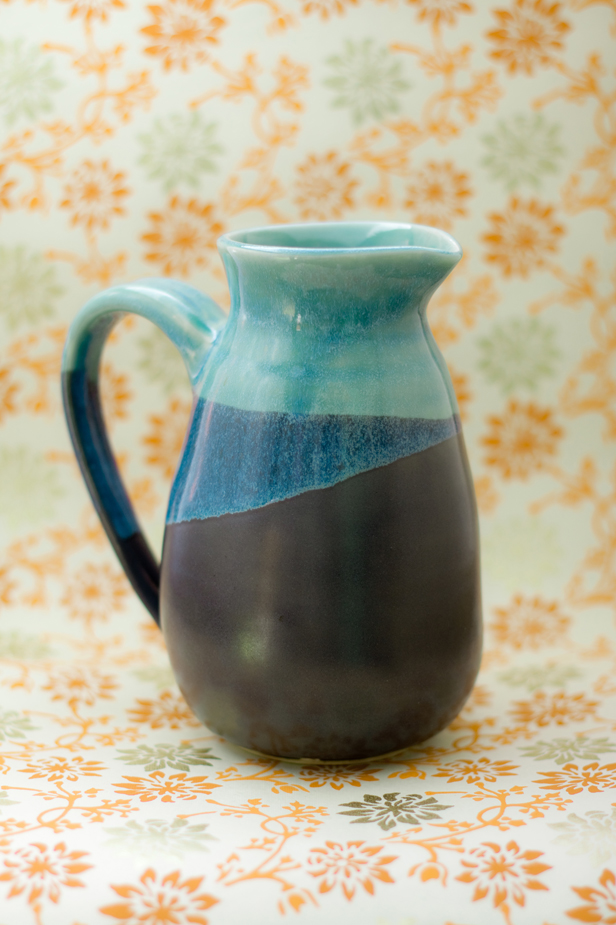
You can get really creative from here and start adding different fabrics and papers into the background:
I’ve used this technique on the cheap too – you don’t need expensive equipment to start with. Here is my first ever set up:
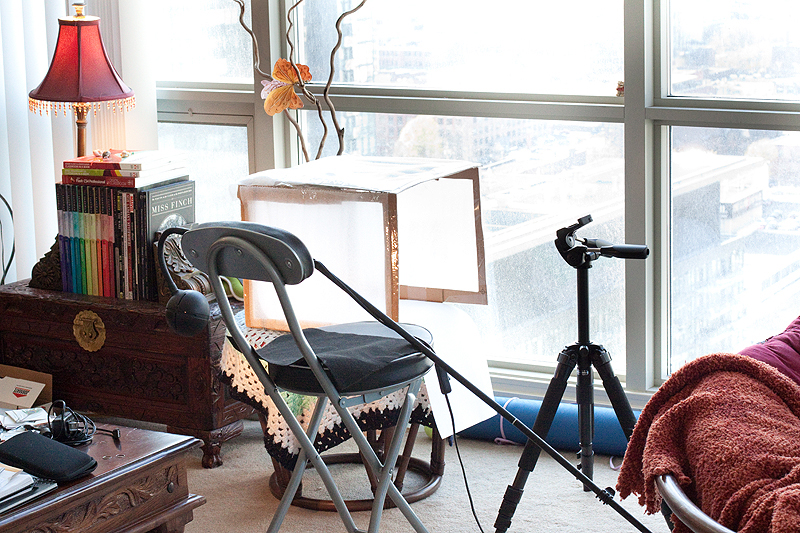
I’m using a cardboard box with the sides and top cut out. Over the cut outs I’ve taped on some of that stuff that your electronics come packaged in, but you can use tracing paper or crepe paper. The sides are reinforced with packing tape. To light it, I’m using my livingroom window on one side, and an ikea stand lamp on the other side, the results were still lovely:
And that’s it! If you’re new to lightboxes and you decide to try them out I’d love to see a shot, and remember – you can get started without having to buy anything up front!