West Indians will never refer to taking a photo. They always say ‘take out the photo’ – implying that the photo is a thing somehow extracted from the camera via magic. I think they’re onto something. Oh, and of course I’m not a photographer, I’m a ‘Photo-take-outter’. =D
This week I realized that the thing I love the most is the thing I blog the least about – photography! To remedy this oversight I’d like to start a new section where I get to share more about my favourite craft – taking beautiful pictures. Every Friday from now on will feature a photograph – with detail on whatever techniques/software/equipment I used to get the shot. I’ll try to include mini-tutorials, references and product reviews where it makes sense, and maybe even a little bit about why that photo was special to me :)
HDR, Macro, Photoshop, false bokeh, lens reviews… it’s all coming to the Blue Brick for ‘Photo-take-outter’ Friday!
‘Photo-take-outter’ Friday – Issue #1
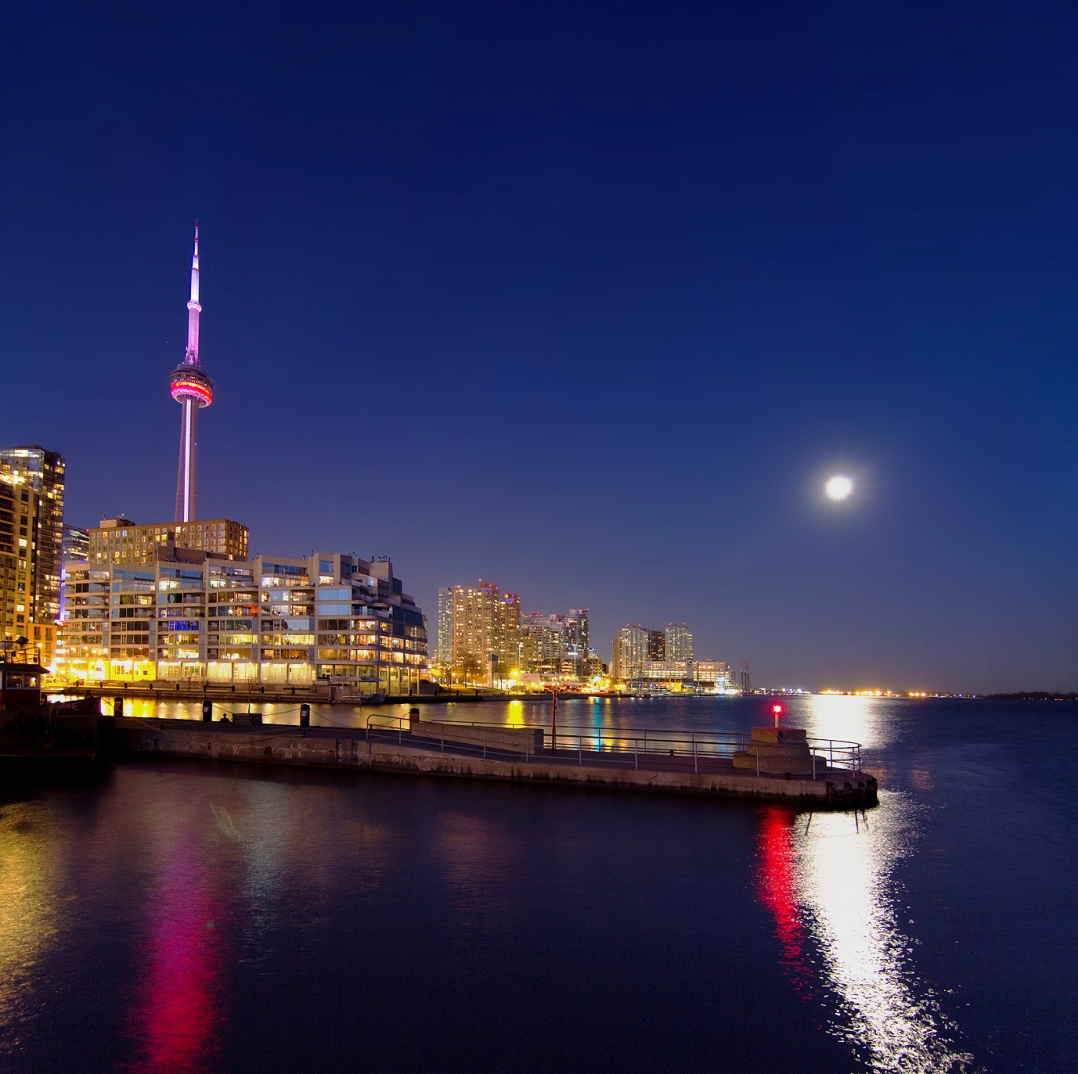
For photo 1 I decided to use a shot from my beautiful hometown, Toronto.

This photo was taken during my favourite time of day for shooting: the Blue Hour. The Blue Hour is that magical time when the sky turns a deep, saturated blue and architecture just shines. I usually shoot in tungsten mode for this – it amplifies the intensity of the blues and tones back any yellow lights in the shot.
I took this with my faithful Canon 7D, and the Tokina 12-24 mm wide angle lens. I’ve had that lens since 2008 and I absolutely love it. Not only has it stood the test of time beautifully, but it delivers an incredibly sharp image for a non-prime lens.
The shot was taken in 3 increments, for a 3 photo vertical stitch. Before taking the 3 shots I locked my exposure by pressing the little button labelled with an asterisk on the 7D. Most cameras have some equivalent, but if yours doesn’t then you might have to do a little exposure matching in Photoshop later. I also used a tripod, and a remote shutter release so even my hands wouldn’t shake the camera.
The stitch itself was easy. I used Photoshop’s photomerge function on the default settings and it looked a great. A little straightening using the free transform tool and I was done!