For Issue #2 I wanted to try out something a little more techy. I’ve been having to do a lot of architectural shooting lately, so this technique was on the front burner for me and I thought I’d share it :)
As an architectural photographer I often find myself needing to prepare vertical panoramas for marketing purposes. Generally folks want straight lines and lots of sky to work with, so I take my 4 shots to encompass everything from the ground to the sky. Easy, right?
The problem with a vertical panorama is that, unlike a horizontal one, sometimes the distortion can be so extreme that the algorithm Photoshop uses for PhotoMerge starts to choke and splutter like someone who’s just discovered the hard way that the milk went bad.
As an example of just how lousy this can look I give you a tragic example. Behold, the working files:
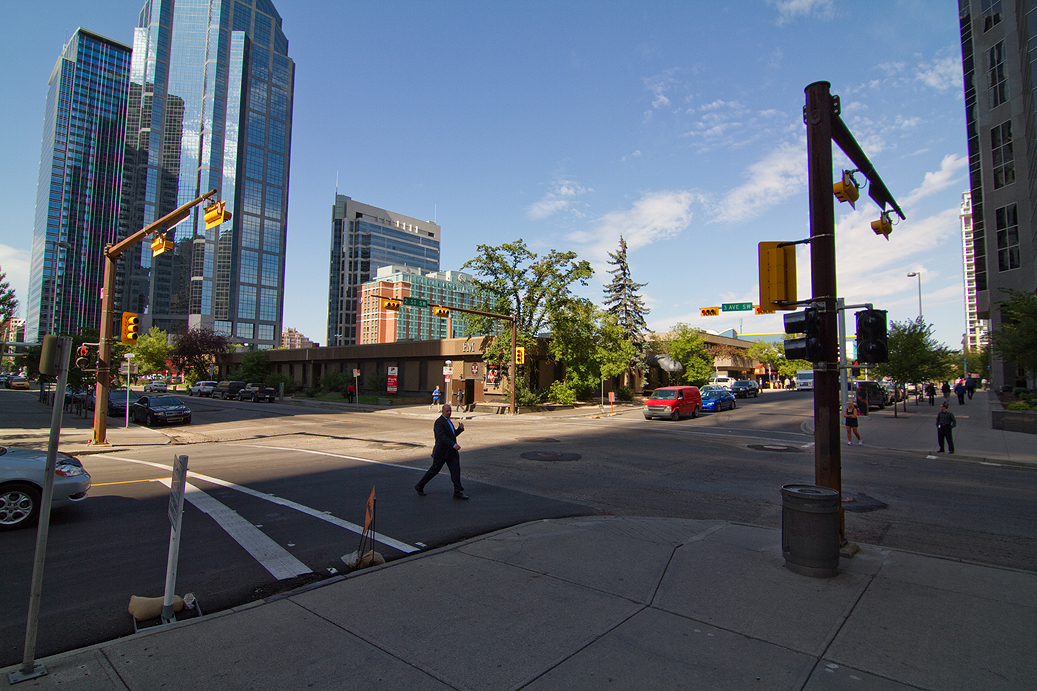
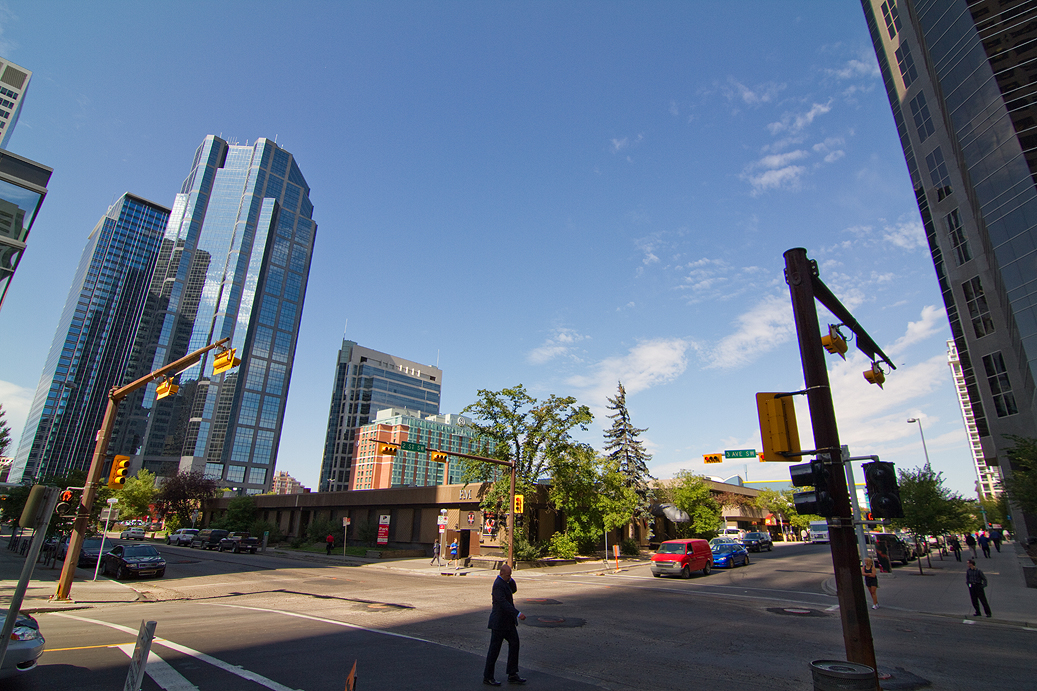
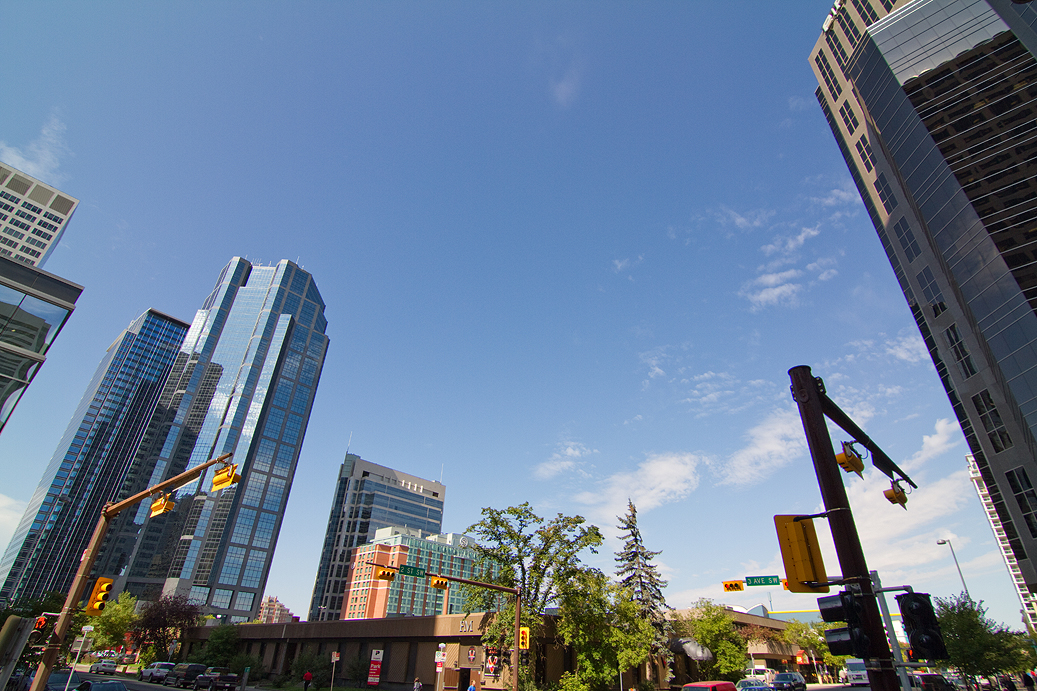
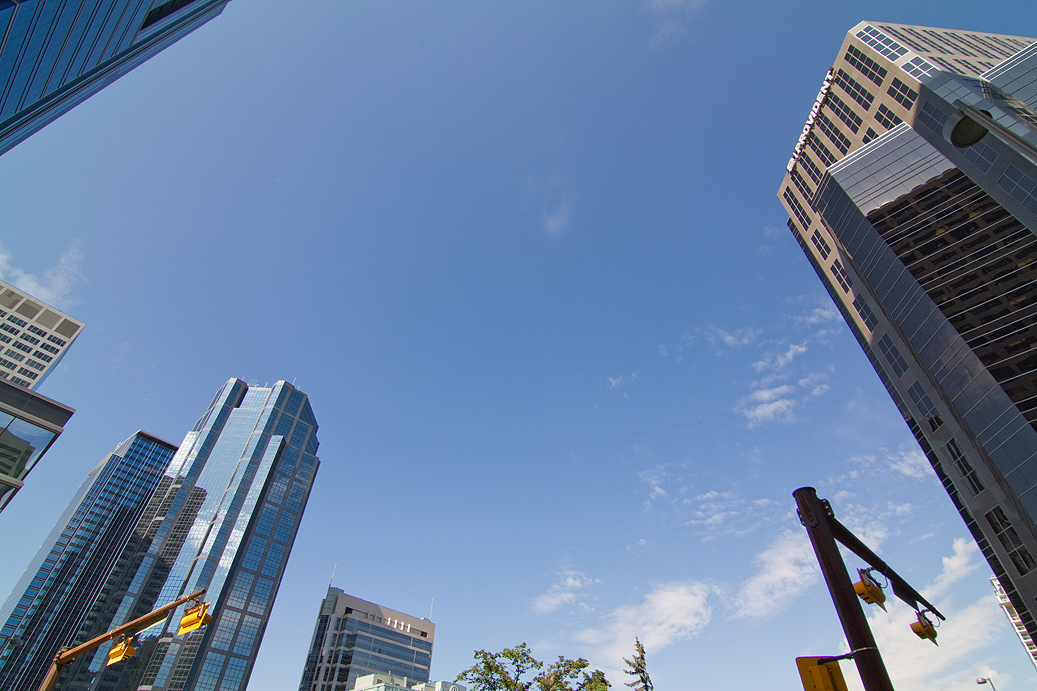
I ran these 4 through Photoshop’s PhotoMerge function, on the default settings, and this is what I got:
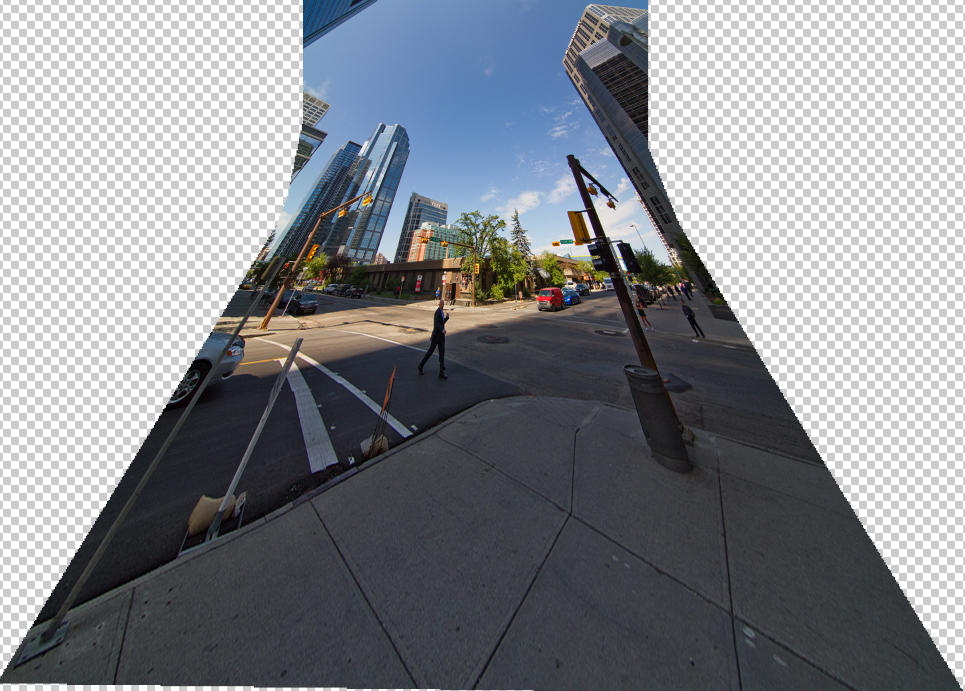
Yikes! I feel sick just looking at it. Incidentally yes, that is the French Maid, and yes I had very good reasons for taking pictures in front of it. Here is a neat little trick that will help you fix a shot like this one.
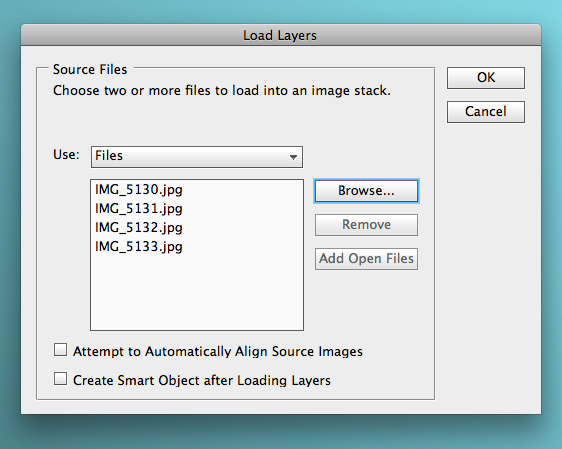
In Photoshop, go to your file menu > Scripts > Load files into stack
Choose your source files. This will load all of your images into separate layers on one PSD file.

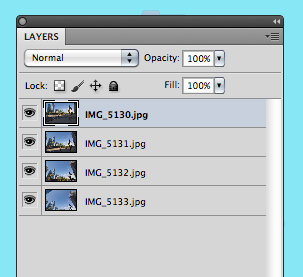
Look at your layers palette. In my case the file on the top layer is the first shot I took – the one at ground level, where distortion is minimal.

I want to preserve the perspective on this shot – so in my layers palette I lock that layer.
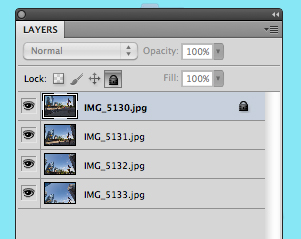
Now I go back to my file menu Edit > Auto Align layers
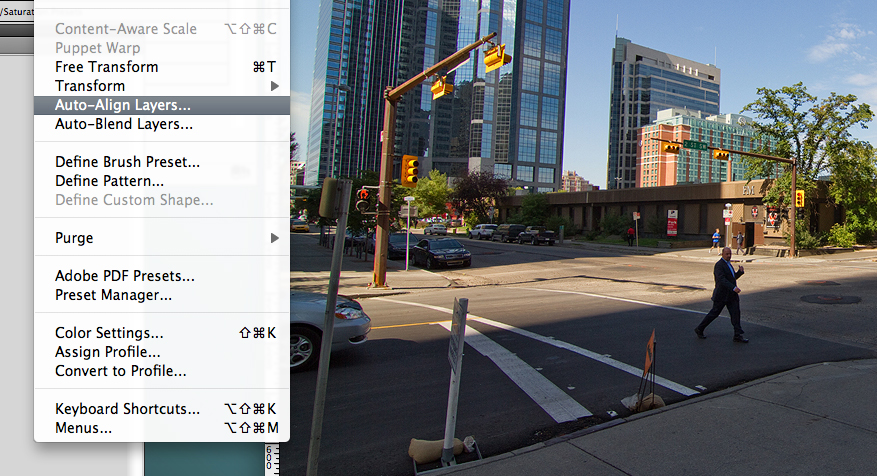
And voila! The lock forces Photoshop to respect the perspective on the ground level photo, and it collects the distortion to the top instead of the bottom. Makes me wish I had a real life ‘respect my perspective’ button ;)
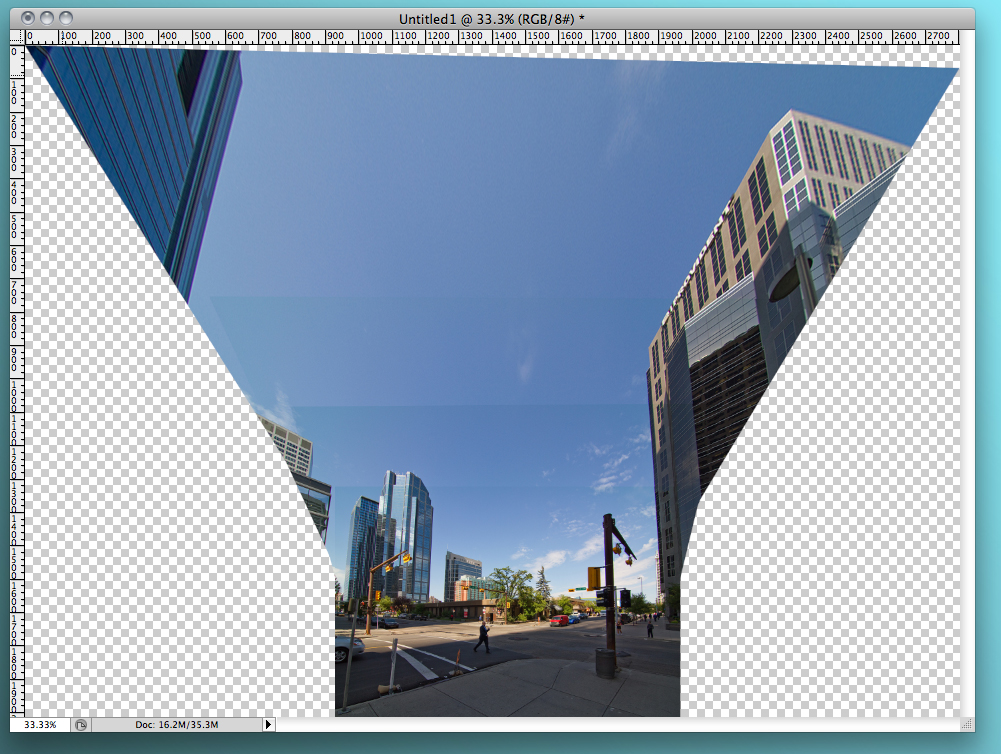
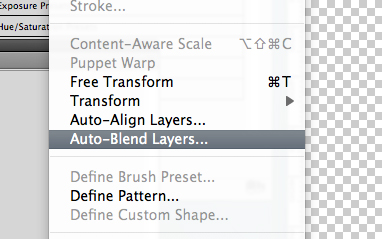
It doesn’t look quite right, so from here you go Edit > Auto Blend layers:
Much better…
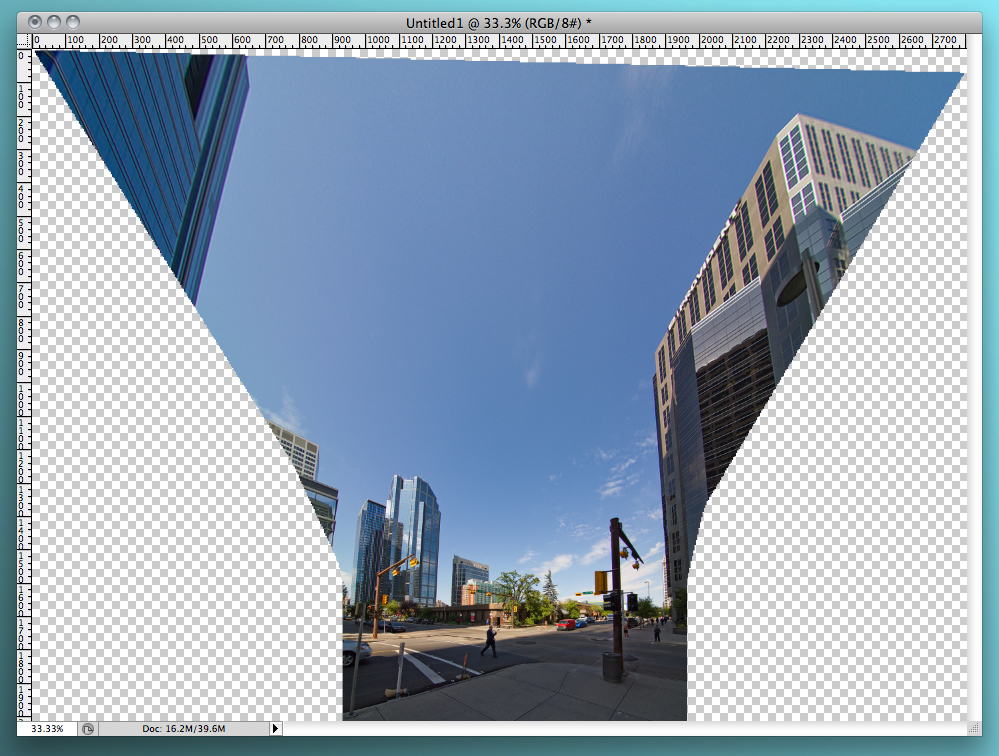
It still looks like a bad trip, but with a little cropping and some work with the free transform tool you’re done!
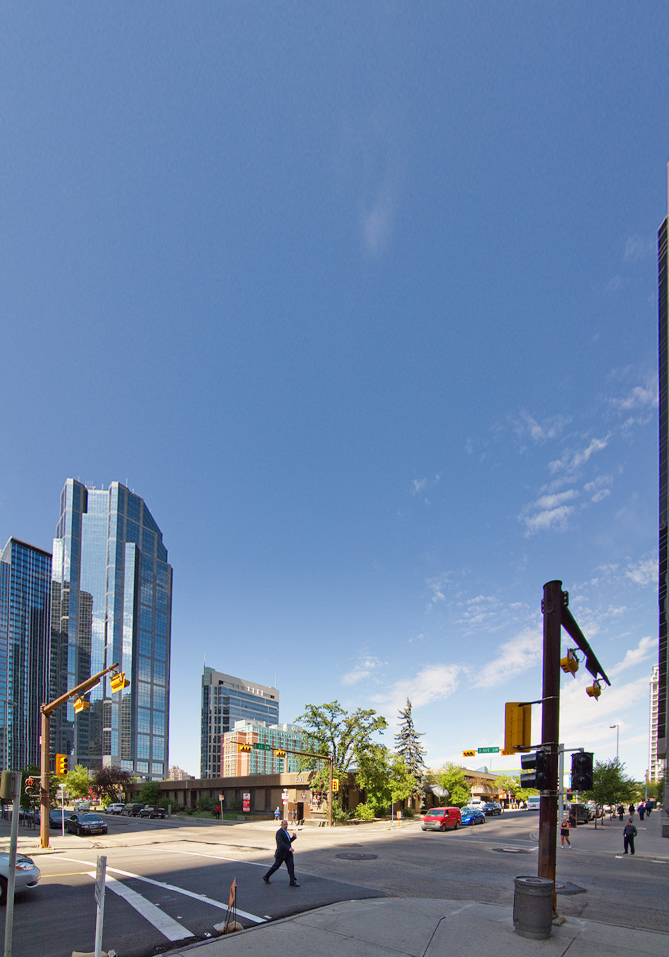
And that’s how you prepare a file where you need to stitch shots that have a drastic perspective shift. Horizontal or vertical (it’s a more common problem with vertical) all you have to do is lock the layer that has the perspective you want to maintain and then align the layers. It’s simple and very handy :)
Did you guys enjoy this? Was it helpful? Too techy? Are you utterly uninterested in non-craft posts? Should I feature less technique and more artsy photography? Photo-take-outter Fridays is still in it’s infancy and I’d definitely value feedback on the posts so I can provide more of what folks are looking for!