The Friday Shiny – Romantic Resin
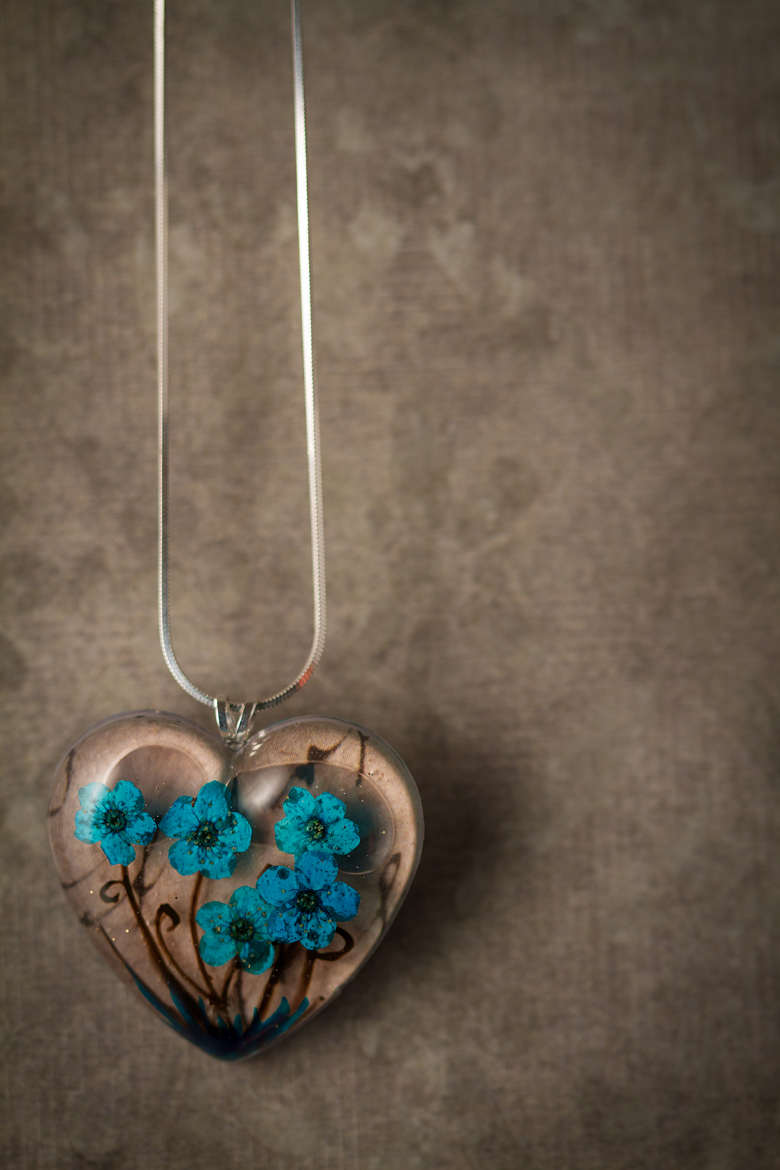
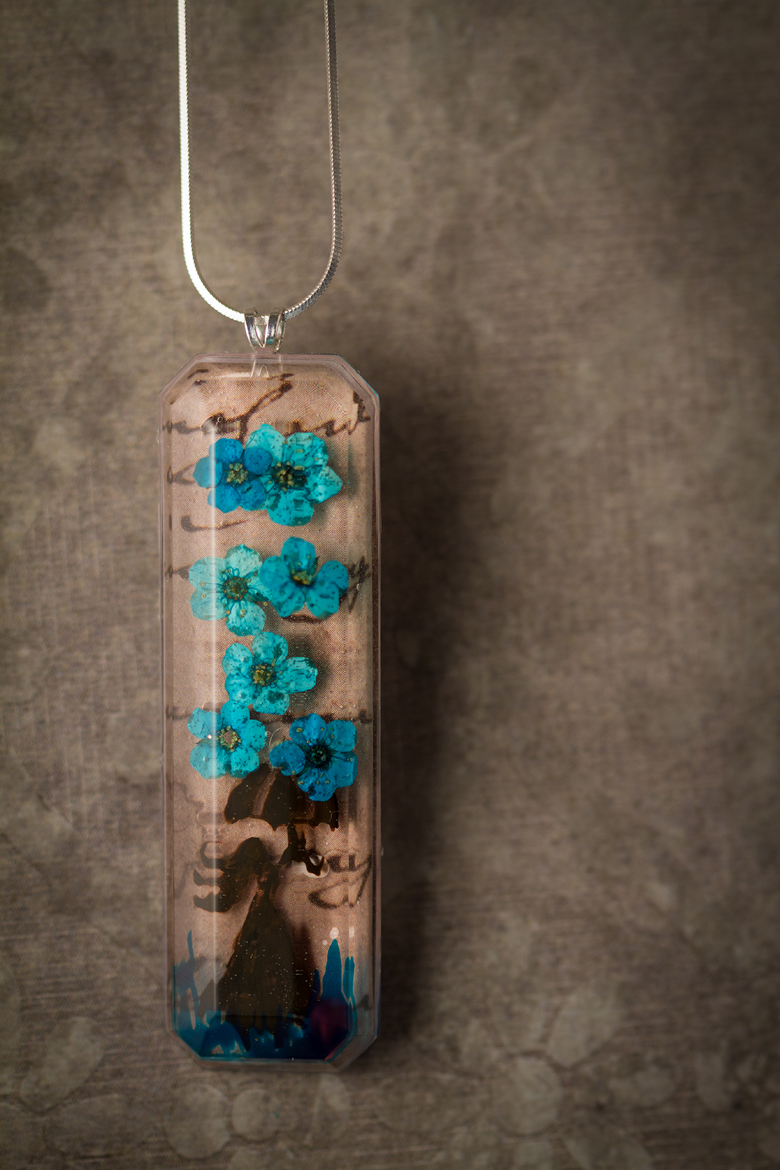
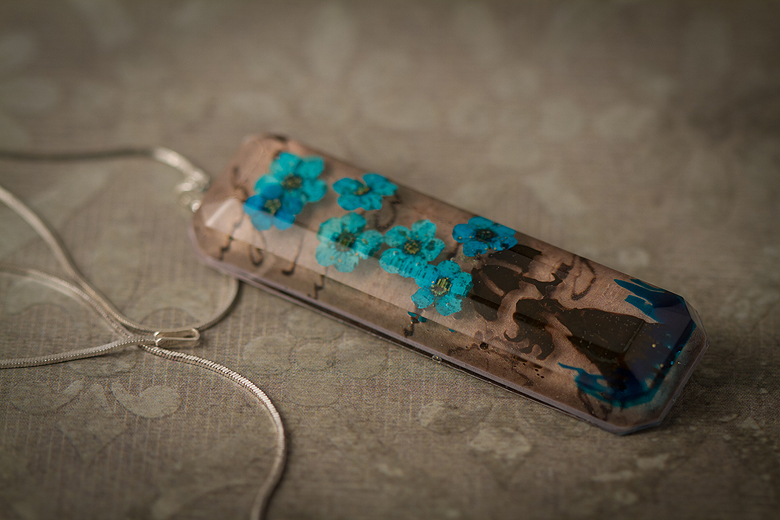
These 2 pieces are, out of all the resin I’ve done, the closest to my personality. They took a lot of layers, but they are totally worth it!


Each piece used the same basic construction –
- I poured resin into a silicone mold and added my flowers first.
- After that layer cured, I added another layer, with nothing in it.
- A third layer was the one that held the little girl with the umbrella, and the ‘tree branches’ in the heart–these were achieved by lightly brushing on the drawing using acrylic inks, after the resin had cured.
- I let the ink dry and then poured a fourth layer.
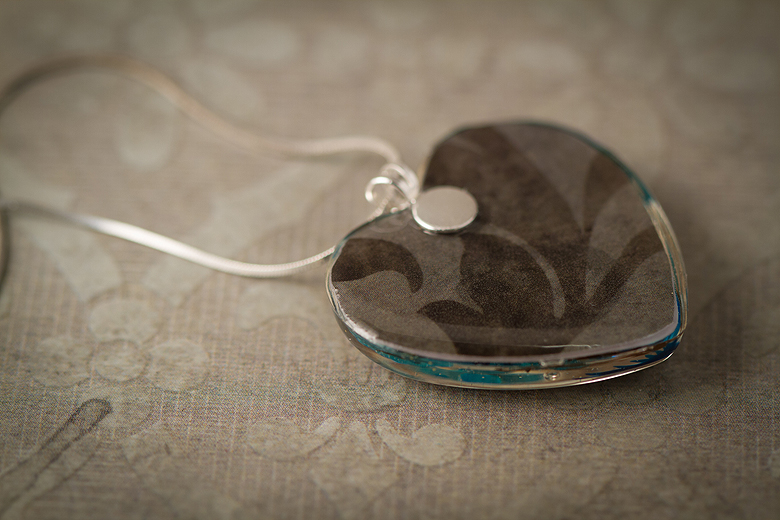
- I cut out 2 pieces of craft paper, shaped to each mold and put them back to back. On my 5th pour I inserted the paper into the mold to seal off the piece, and also to decorate the back.
- Finally, after the piece was completely cured, I popped it out of the mold and glued a bail on the back. I added one last, careful coat of resin to make sure the bail was completely sealed.
- The very last stage is to hand-sand the sides, to take off any rough edges so it’s ready to wear.


And there you have it, labour-intensive, but worth it! Check out my e-book Resin Jewelry for more information, step-by-step photos, resin projects and more!

