The Kool-Aid experiment – dying a gradient
Being a designer is tough because it makes you picky. I had experimented with Kool Aid a while back and, while it was fun, I didn’t keep up with it because I had so many ideas in my head and I couldn’t make the yarn match it. I think to really have the skill and control of someone like, say, Tanis, you really have to be a colour expert and dedicate lots of time and energy to it. It’s something I definitely aspire to be better at, but in the meantime Kool Aid is a fun way to get your feet wet!

So the challenge I set myself was ‘can I dye a gradient’?. The idea of dying a gradient was inspired by the Little Fair Isle Hat from the Purl Bee. They do a great job with skeins of different colours and I was intrigued by the way the lightest colour just blends into the piece. It turns out it’s very possible to dye a gradient: here’s how I did it.
- Get some yarn (easy, right?) and some Kool Aid packets. I used 100% Alpaca from Alpaca Acres here in Ontario – the softest and most luxurious stuff you can imagine :) Natural fibre is important because the dye won’t take on acrylic or other synthetic yarns. For Kool Aid I used 3 packets of Lemon-Lime and one package of… Blue. I think it was called Ice Berry.

- Using a kitchen scale I measured my skein into 10 gram hanks, which I retied very loosely. If you don’t have a scale you can guestimate it – just divide the yarn into 5-6 equal parts.
- Pour all the Kool Aid into a pot filled with water, put it on the stove and put all the yarn hanks into it. Start bringing it to a slow simmer. Set a timer for 5 minutes.

- After 5 minutes pull out one hank – this will be your lightest one. Set the timer for 5 minutes again. As a guideline, every 5 minutes you’ll take out one more of your mini-skeins. The result was that I had a nice gradient from ones that had been in the shortest time to my last hank – which was in for a full 40 minutes. I say a guideline only, because you really need to do a visual check to see if enough dye has been absorbed, and adjust your time accordingly.
- Wash each skein gently in a mild wool wash or mild soap as it comes out, to wash away excess Kool Aid. I used Soakwash – the patron saint of all my yarn projects :)

I was very happy with my results, and set about making an adult version of the Little Fair Isle Hat. I cast on the same amount, but on 4.5 mm needles and I added quite a bit of length to it, for a slouchy hat.

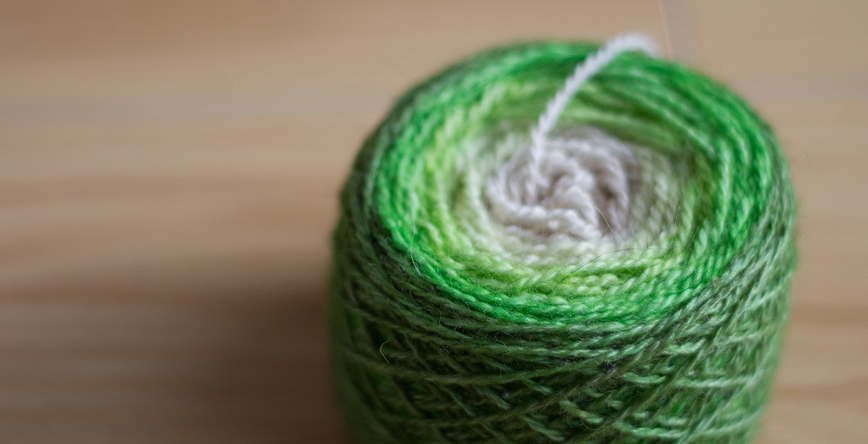
For fun I wound all the leftover yarn together.

It’s colourfast, even though I didn’t use vinegar to help set it. Apparently Kool Aid is so acidic that you don’t need it.

I love the results :) Especially on the hat!

Here is a great tutorial from knitty.com if you want to read more on it, and if you take a crack at dying I’d love to see photos!