Faux Enamel Resin Earrings
Faux Enamel Resin Earrings
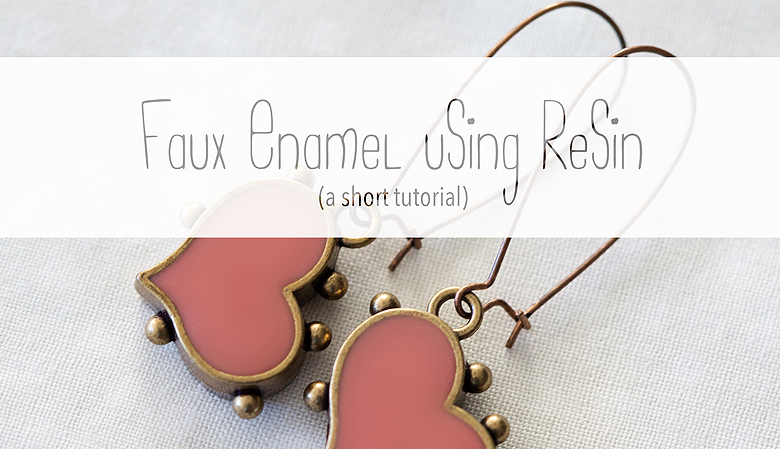
Using resin to create a faux enamel effect is super easy, and once you get the hang of it you can mix virtually any colour you want and use it for all kinds of fun applications. This is a very simple project to make adorable fake enamel earrings.
If you enjoy this tutorial please consider checking out my e-book on resin jewellery to learn more, including how to preserve and resin flowers, making bangles and spheres, and layering elements in the resin to create more complex pieces. If you’re interested, click here :)
You will need:
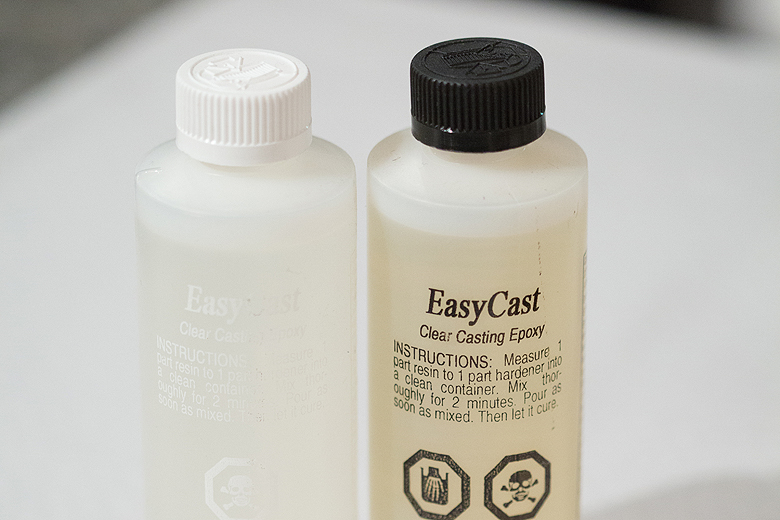
2 part epoxy resin. Because I plan to add pigment to my piece, I don’t need to use jewelry grade resin so I am using Easy Cast, which is slightly more affordable. If you were planning a transparent piece, or using flowers in your work I definitely would recommend you use a jewelry grade resin (such as Ice Resin or Envirotex Jewelry resin) instead.
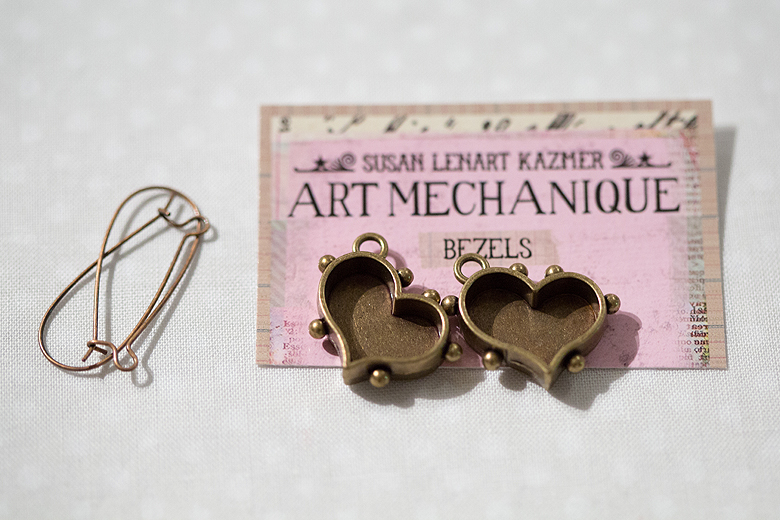
Bezels and earring hooks. I am using 2 heart-shaped bezels by Susan Lenart, purchased from BeadFX.
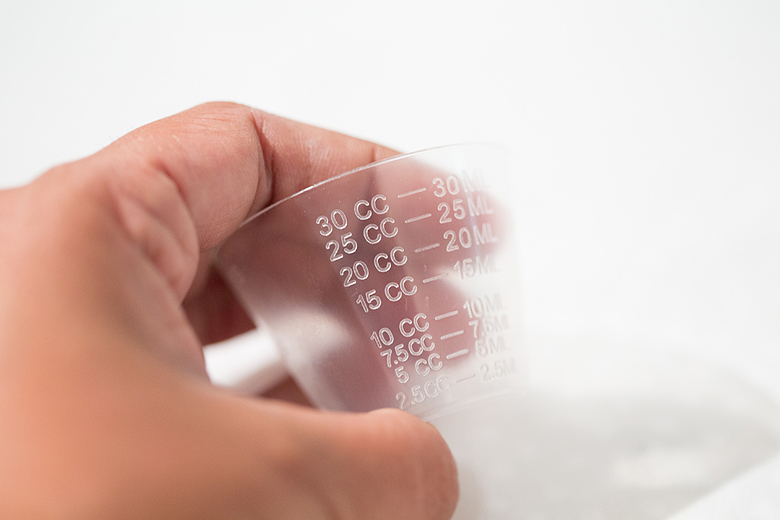
1 small, graduated mixing cup.
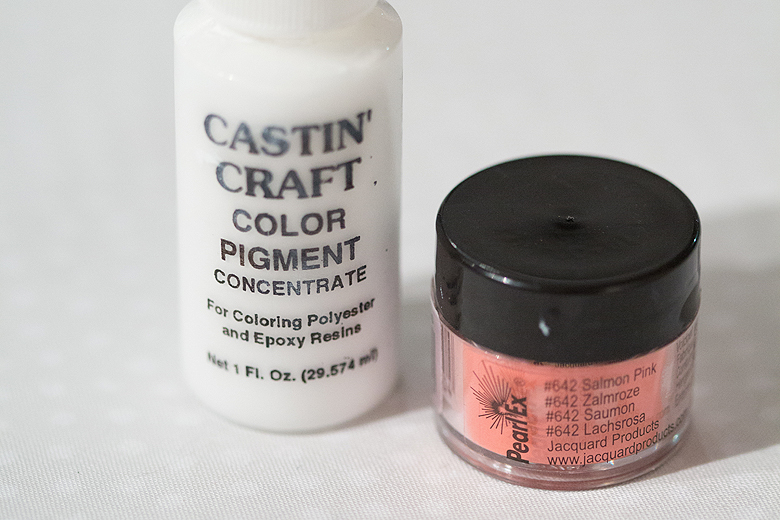
Pigments for the resin. Here I am using opaque white resin pigment from Castin’ Craft and pink Pearl EX powered pigment by Jacquard
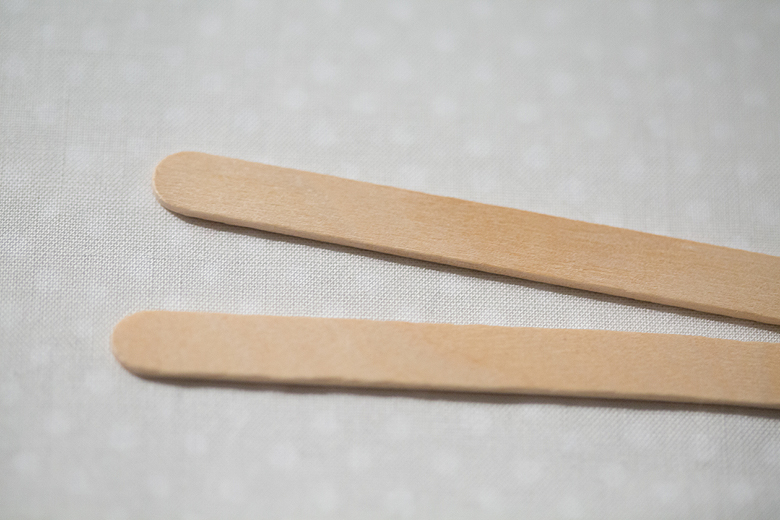
Stir sticks, in this case a couple of craft (popsicle) sticks will do well.
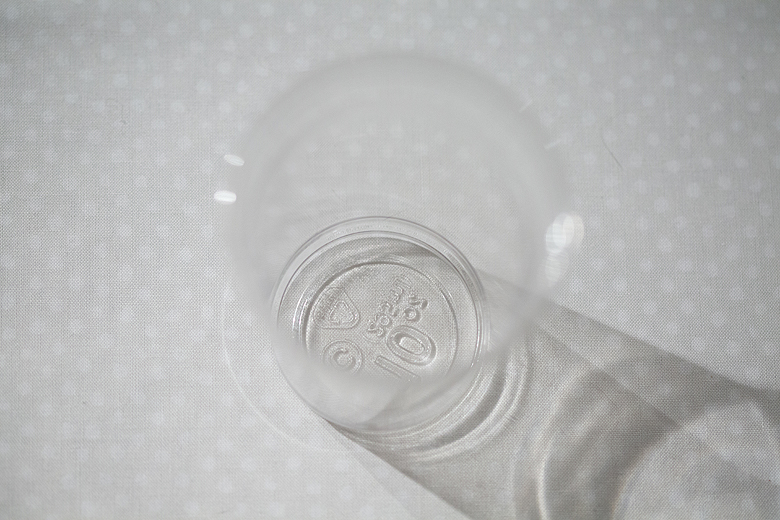
And finally, a large plastic cup to cover your pieces with, to protect them from dust as they cure.
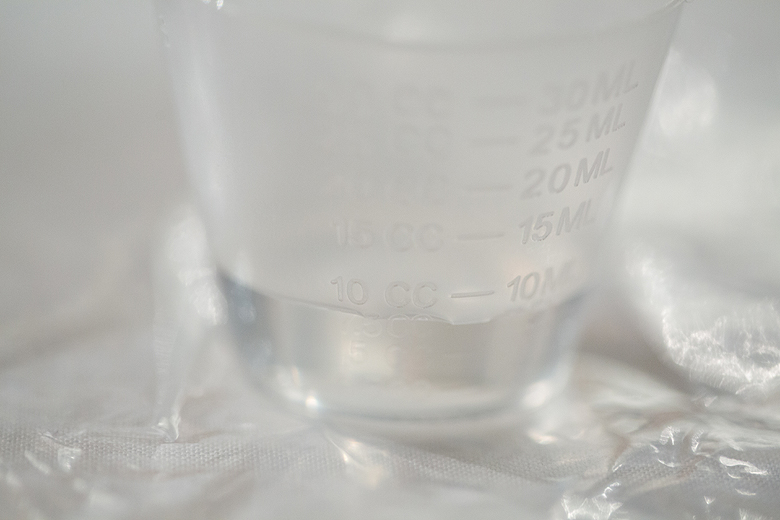
Begin by mixing your resin. Into the graduated mixing up, add 15 ml of resin. It’s a good idea to put plastic cling wrap over your working surface before starting.
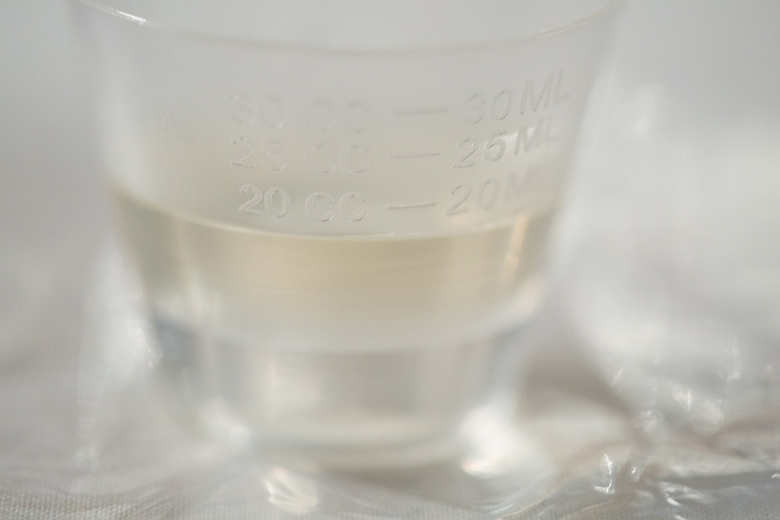
Into the same cup, add 15 ml of hardener. It is crucial that you achieve a 1:1 ratio between resin and hardener, or your mixture may not cure.
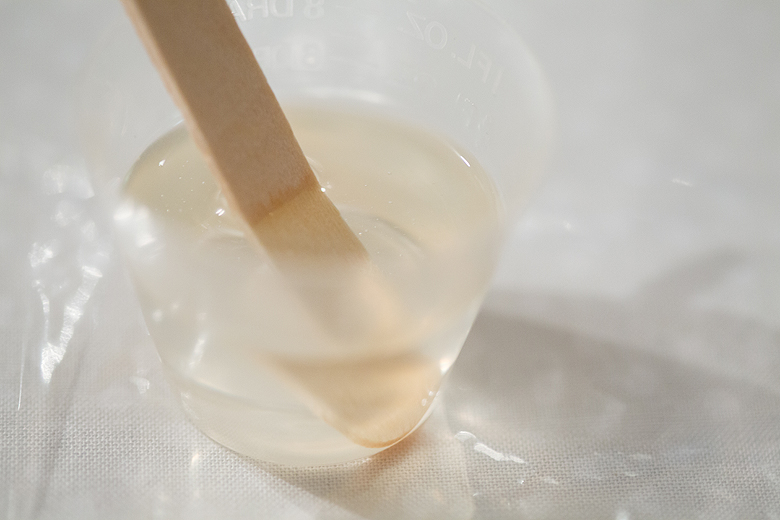
Using your stir stick, mix the resin gently. Work both clockwise and counter clockwise, using your stick to scrape the sides and bottom of the cup. Make sure you scrape off the resin that’s on the stir stick as well. You want a uniform mixture, without any striations, and as few bubbles as you can manage. Don’t ‘whip’ the resin as you’re mixing it – this will introduce lots of bubbles! Getting a nice even mixture should take about 2 minutes of constant stirring.
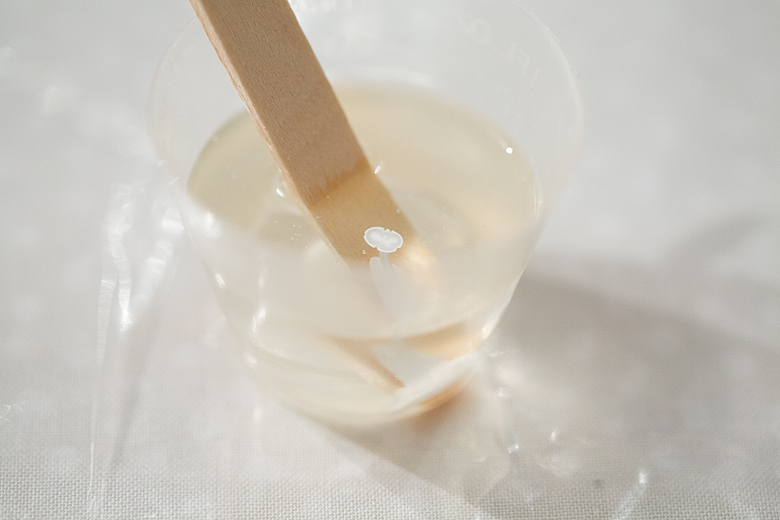
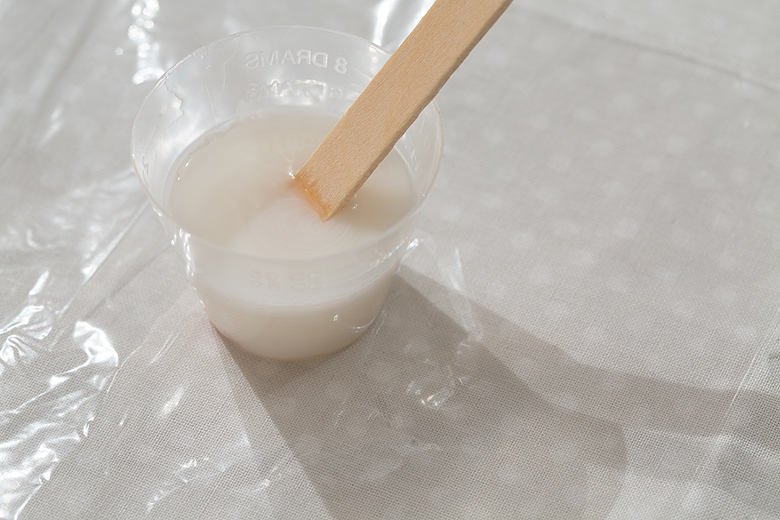
Add just 2 drops of the opaque white pigment. Don’t overdo this part – a little of the pigment goes a long way and too much will extend your cure time.
Blend it into the resin by mixing gently until it’s evenly combined.
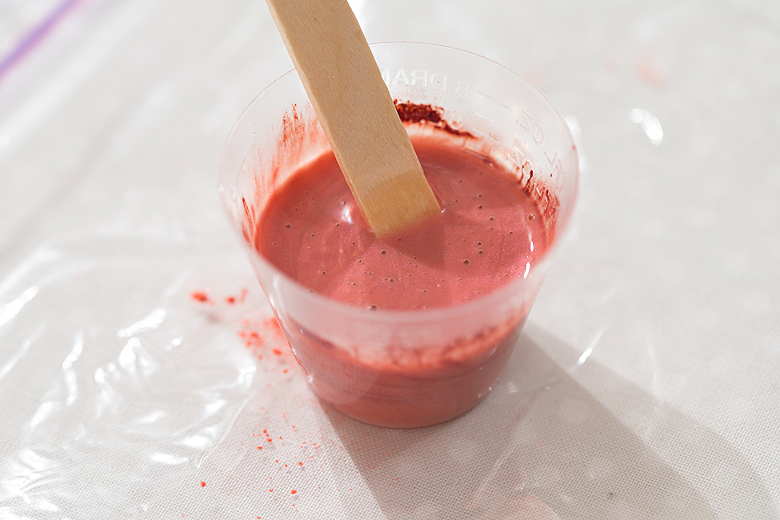
Use your wooden stir stick to scoop up a green pea-sized amount of the powered pigment.
Blend it into the resin by mixing gently until it’s evenly combined.
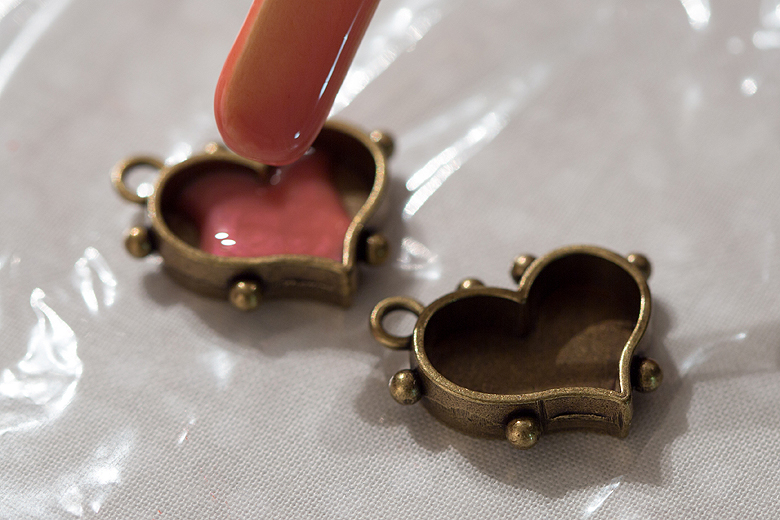
Use your wooden stir stick to add it to the bezels drop by drop. Resist the urge to just pour the resin in straight from the cup – spilled resin is very hard to clean!
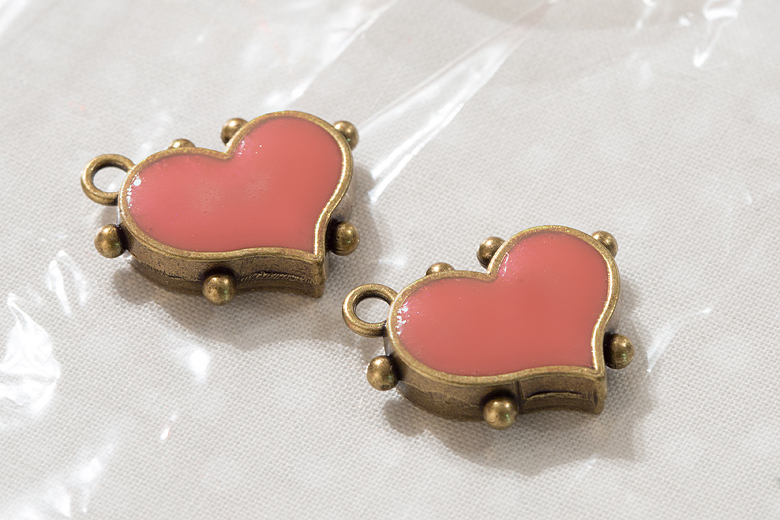
Add resin until your mixture starts to ‘dome’ slightly out of the bezel. Resin will contract slightly as it cures, so adding a little extra will give you a nice even surface. You can see here that the heart on the left has been domed and the heart on the right is still under-full.
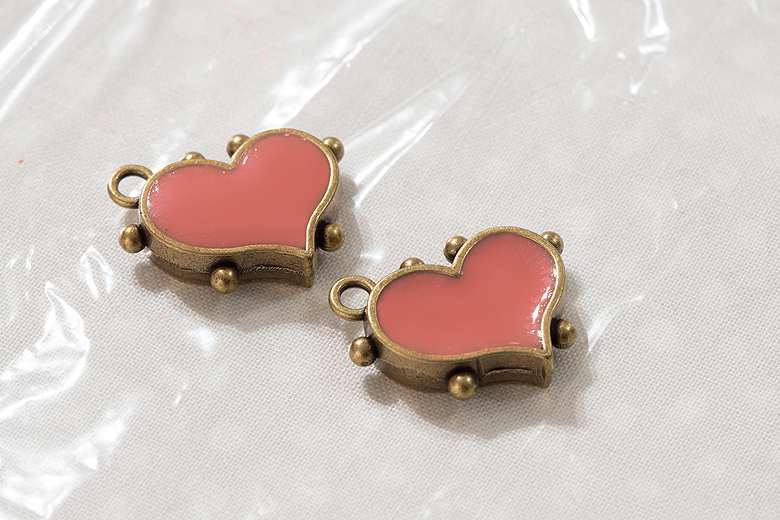
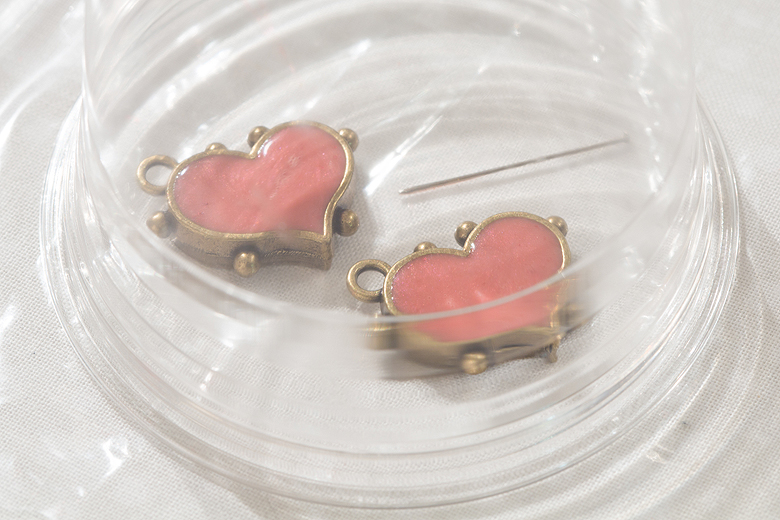
Now both hearts have just the right amount of resin. If you have any bubbles, you can use use a pin to prick them.
Cover the pieces with the plastic cup and let them sit undisturbed for at least 24 hours.
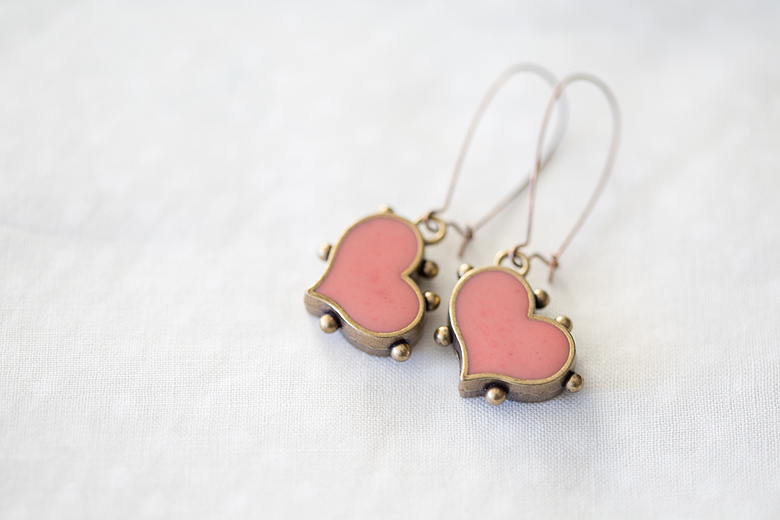
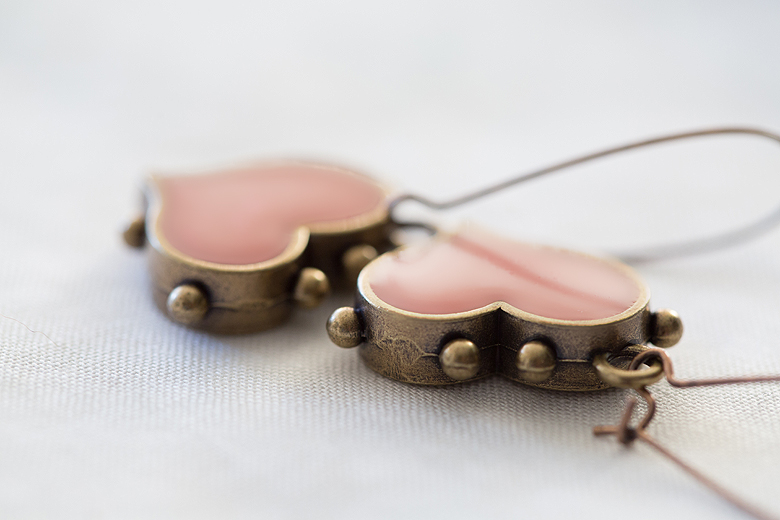
Add your earring wires, voila!
I would advise that you let the resin sit for at least 72 hours before wearing your earrings. Resin will come to a soft cure in 12, but a full hard cure takes 72. If you enjoy this tutorial and you give it a whirl please share photos, I’d love to see what you make!
