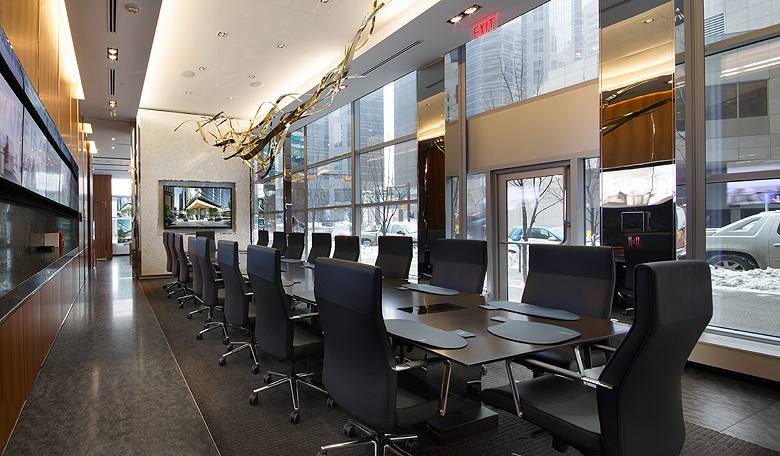
2 weeks ago I flew to Calgary to shoot a sales centre my agency had helped design. It was a great shoot; a challenging space with lots of monitors and lots of glass. The white balances were all over the place, and the monitors, windows and pot lights meant lots of light sources to contend with.
This post is about my mental work flow when I’m doing this type of shoot. I won’t get into the photoshop details too much – this is more to show how I analyze a shot so I can get the best results.
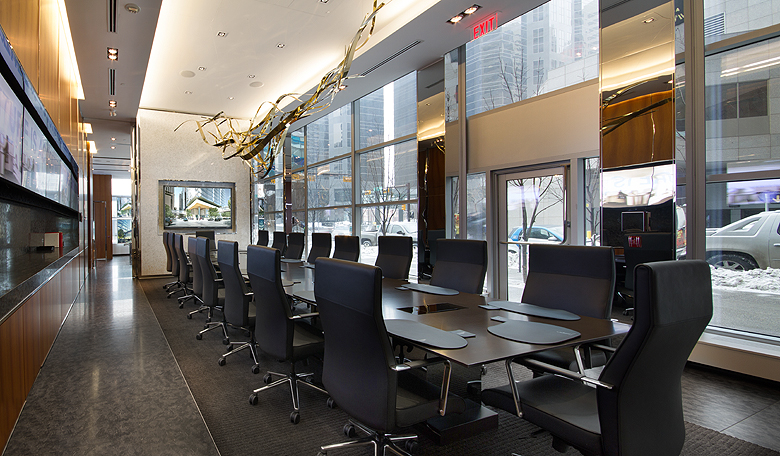
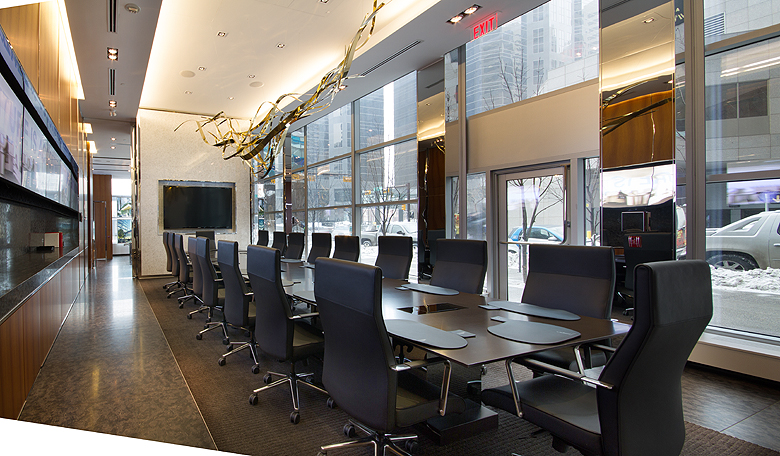
Here is the original:

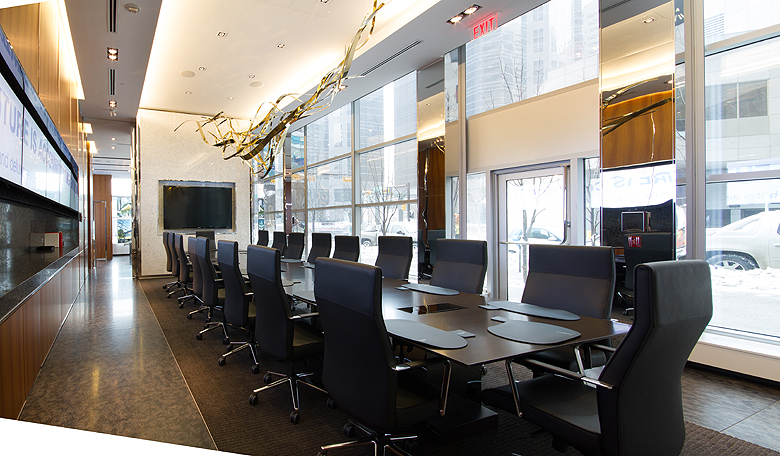
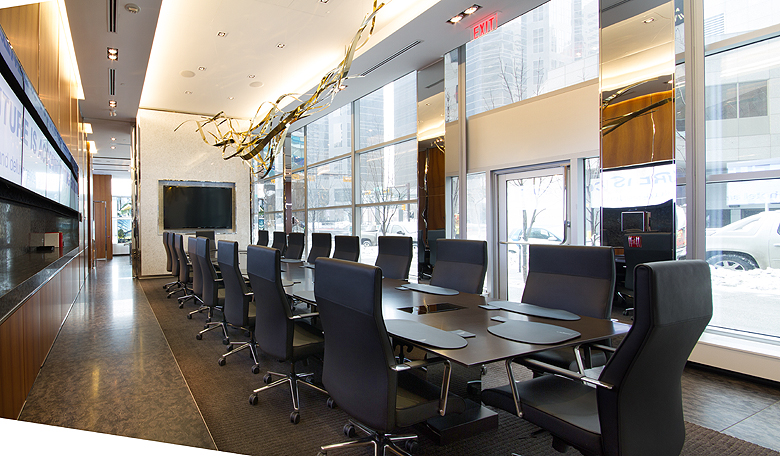
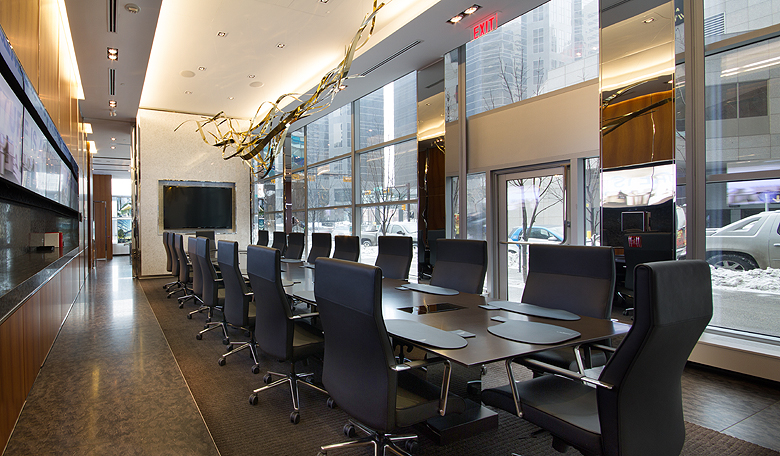
And after processing:
Step 1
I used the free transform tool to straighten out the walls. I used guides to make sure everything looked right.
Step 2
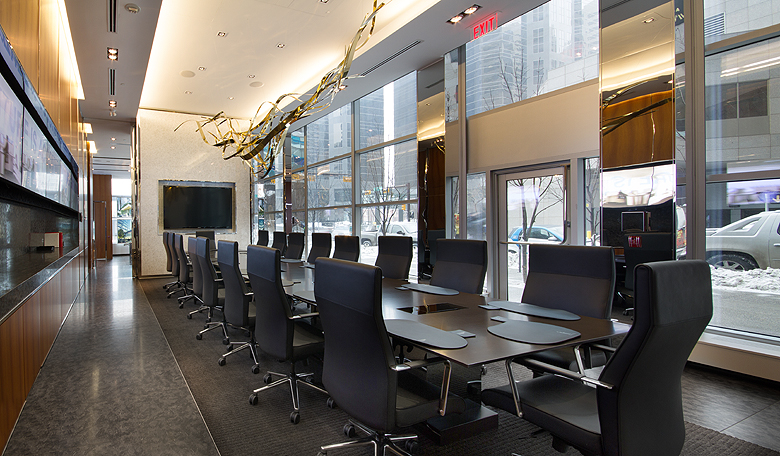
I had shot 3 exposures. I used the lighter one on top with a layer mask and selectively painted in with a semi-opaque brush to lighten up the darker areas.
Step 3
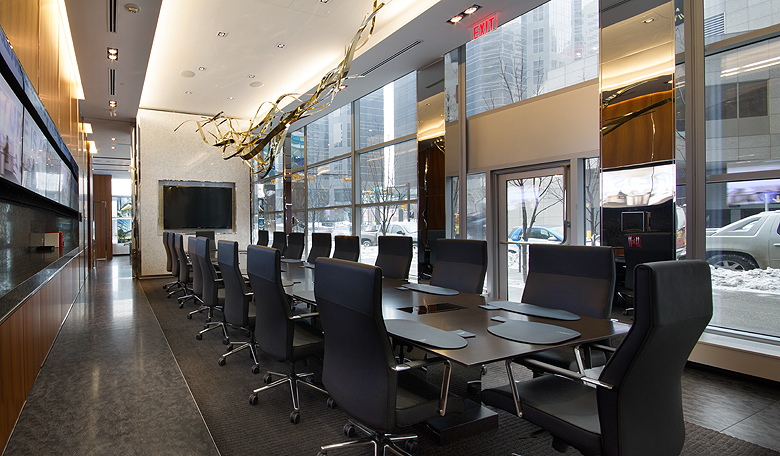
A levels adjustment layer was used to get the detail under the chairs to come out.
Step 4
I had to darken the view outside because it was blown out. This is where the darkest of my exposures came into play. Again I applied a layer mask and used a semi-opaque brush to paint in the darker exposure where I needed it.
Step 5
Using the vanishing point filter I established a perspective grid for the areas that were left blank by my wall straightening. Then I rubber stamped within that grid to fill in the corners without losing the perspective.
Step 6
I duplicated my layer, set it to multiply and applied a layer mask. Then I used a semi-opaque brush to paint in the highlights on the floor and table, to dim them a bit.

You can already tell I use layer masks and adjustment laters A LOT. I believe in non-destructive editing, this is very handy if the client has comments, and allows you to go back to any stage in your process to make adjustments (or create blog posts ;) ) I also rely heavily on my graphics tablet for detail work.
Step 7
The tungsten lighting in the room was making the floors and carpet come out orange. I created a new layer, set its blending mode to colour and painted the floor and carpet a neutral grey.
Step 8
I did the same for the back wall and ceiling area, to lessen the effect of the tungsten lights. I was, however, careful to paint around the art piece on the ceiling, so it’s gold colour wouldn’t be affected. Removing the orange tone from the white wall helped this piece pop out more.

Step 9
The overall tone was just a touch too bright for me. I used apply image, multiply at 10% to bring it down a touch.
Step 10
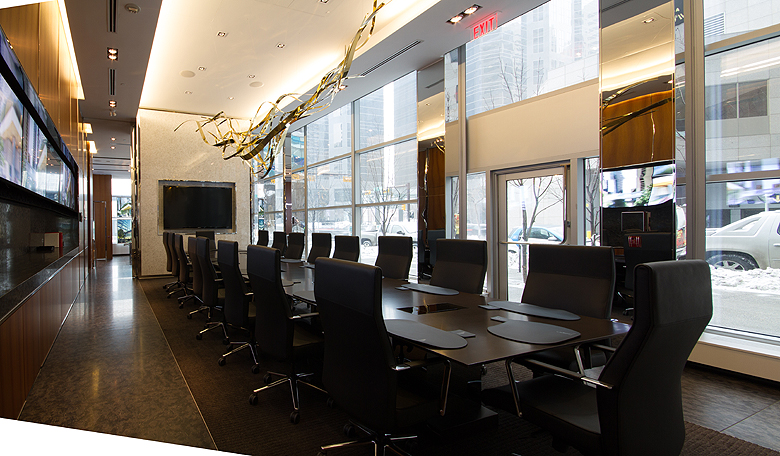
The monitor at the end was off so I put an image in.
Step 11
The screen didn’t look realistic yet, so I added an adjustment layer of levels to just the screen and increased the brightness and contrast. Then I added a slight outer glow using layer styles.

Step 12
Finally, I duplicated the monitor, turned it upside down, applied a layer mask and painted in just a little detail onto the table as a reflection. I added a gaussian blur to the reflection to make it more subtle and realistic.

Here are the before and after again :)
A lot of this is my personal taste, but knowing my work flow helps me determine how to shoot. I ask myself questions like
- Do I need multiple exposures?
- Do I need multiple white balances?
- Do I need a polarizer filter for the reflections?
- Are the walls bending with my wide angle lens? If so, should I do it in one shot or stitch it?
- Would this shot benefit from a graduated filter?
- Do I have any ‘hot spots’ that I’ll need to take out later?
- Do I need to add anything (Like that monitor)?
This helps me create a shot that, though heavily processed, looks realistic, maintains the subtle details and allows me to deal with complex compositions.