
In my work on the book ‘Resin Jewelry’ I did a ton of photography –many folks who looked at the book in its first stages remarked on how the photography really made the book shine. In my day job I work in advertising, and I can tell you that the emotional connection almost always happens at the level of beautiful images.
I want to share my techniques on product photography, as well as demonstrate how great results can be obtained without a big budget. It’s an image-heavy post, but it’s worth it!
I’m going to start with my personal setup. Here is an image of one of my resin pieces, I shot it with my DSLR, on full automatic, with the flash. It’s nice, but the colours are not quite accurate, and the piece looks overblown.
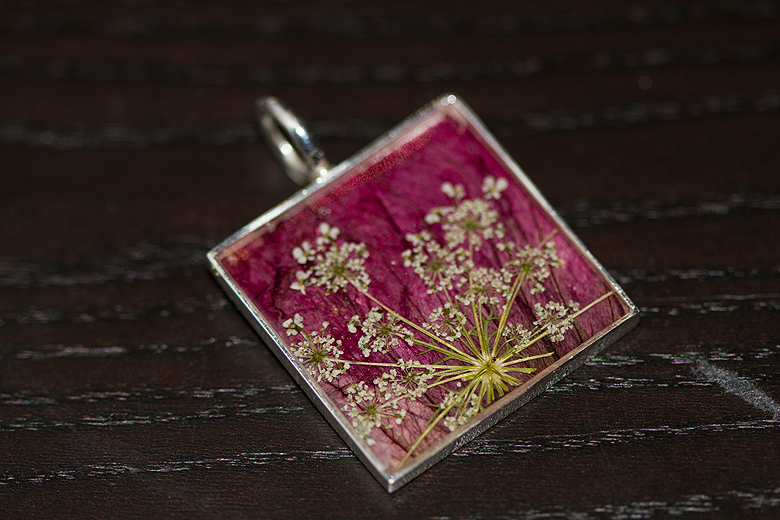
Here is the same piece with no flash. The highlights are drawing away all the attention and the piece itself is underexposed.

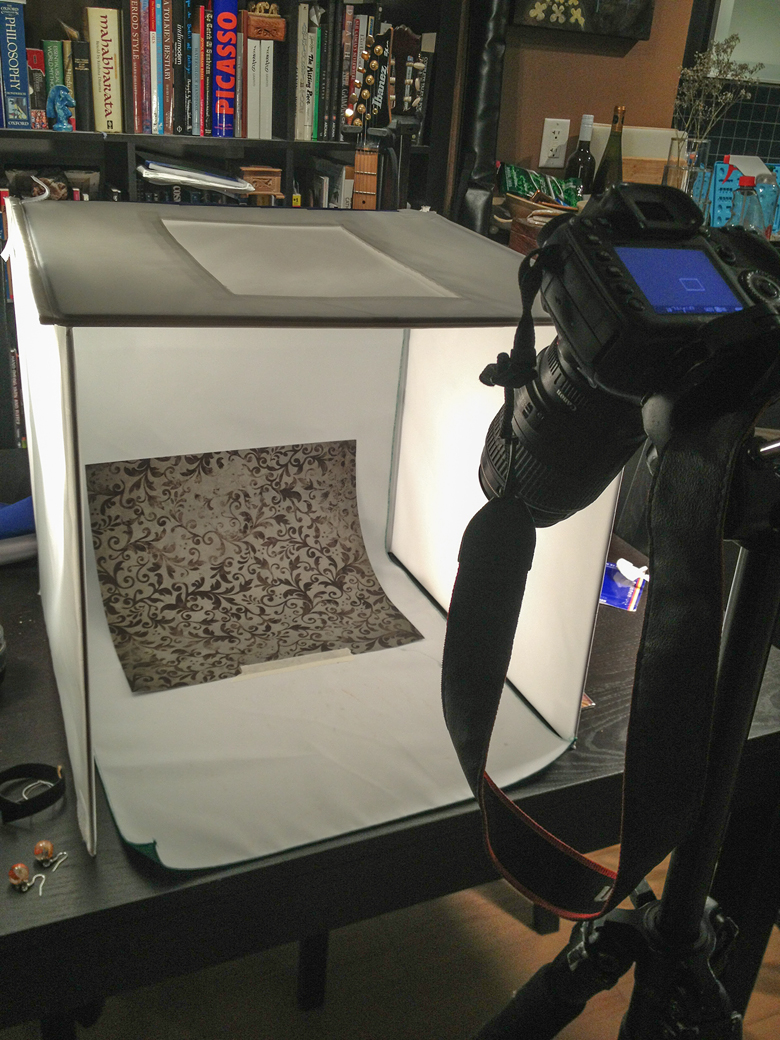
This is my setup for shooting – you can see that I’ve got a lightbox, 2 lamps, a tripod and my trusty Canon 7D. Further down the post I will show you how to replicate the results without any of this equipment.
Here is the same piece, shown in my lightbox. There are no hard highlights, and the colours and detail of the piece are coming through well. The only problem is that the shot is sterile and unimaginative, good for documentation but failing to do the piece justice.
I keep a collection of beautiful papers handy for taping down inside my lightbox to spiff things up a bit.

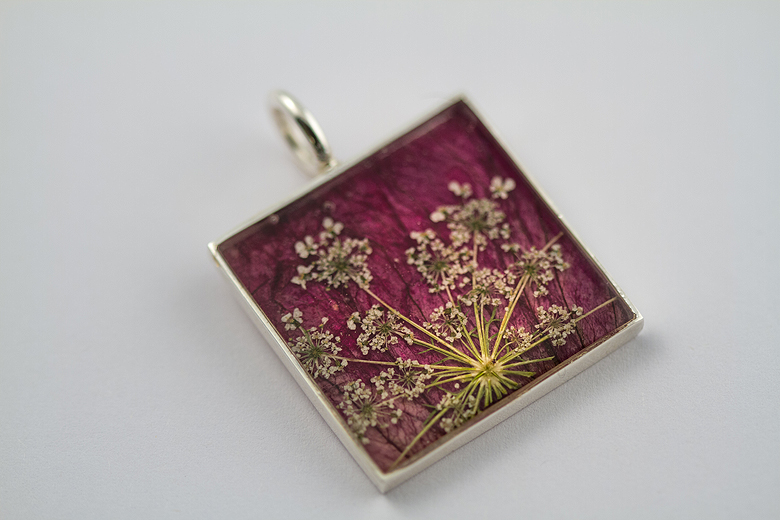
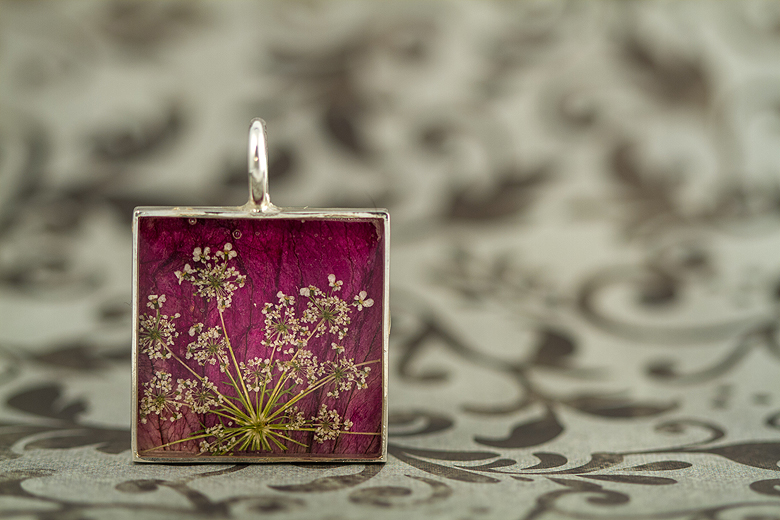
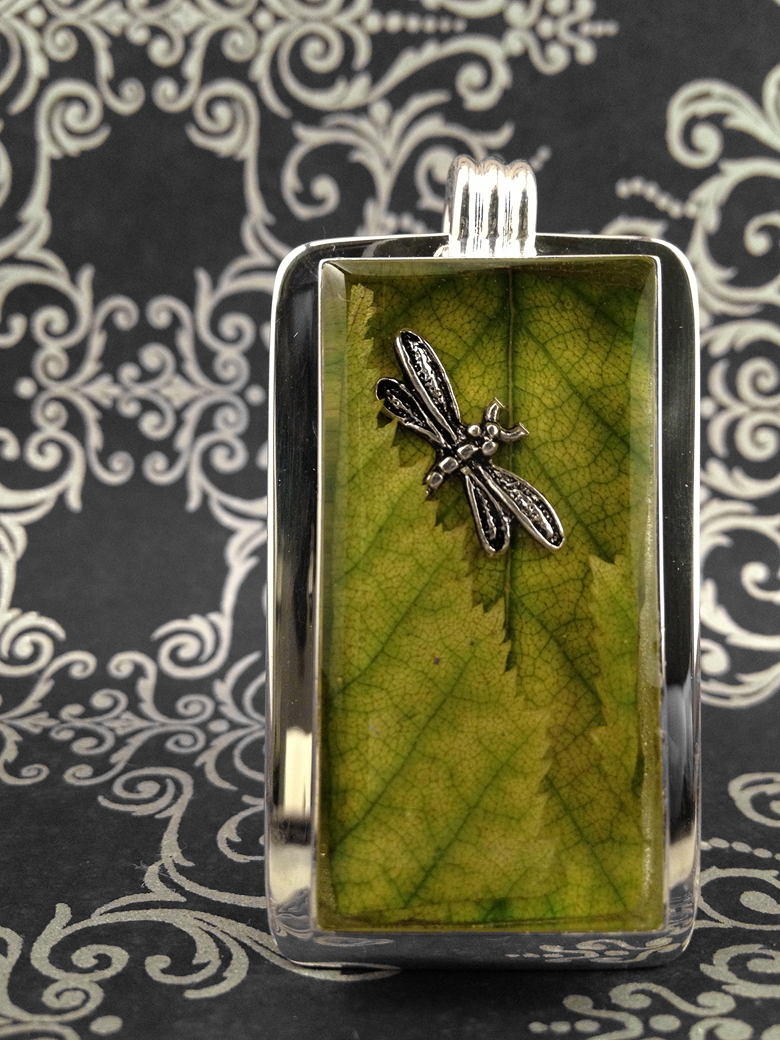
Here it is with a paper backdrop. My only concern now is that the paper is busy, and is drawing attention away from my piece.

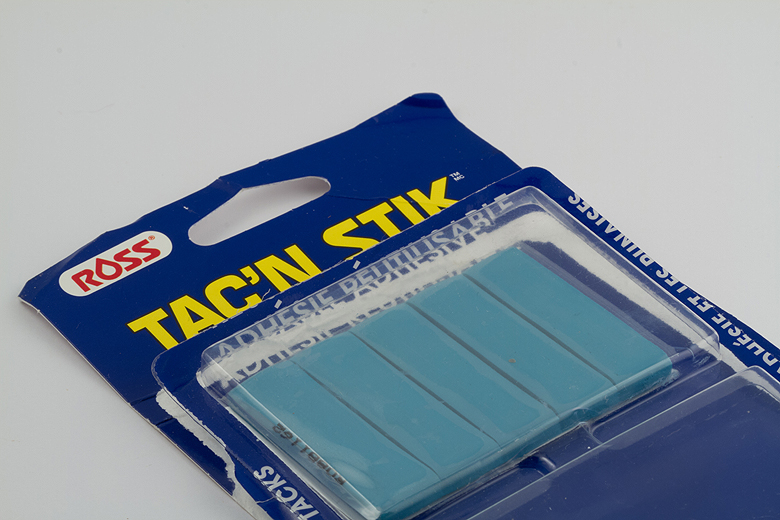
I use blue putty, available at any dollar store, to prop the piece up. Play-doh works too.
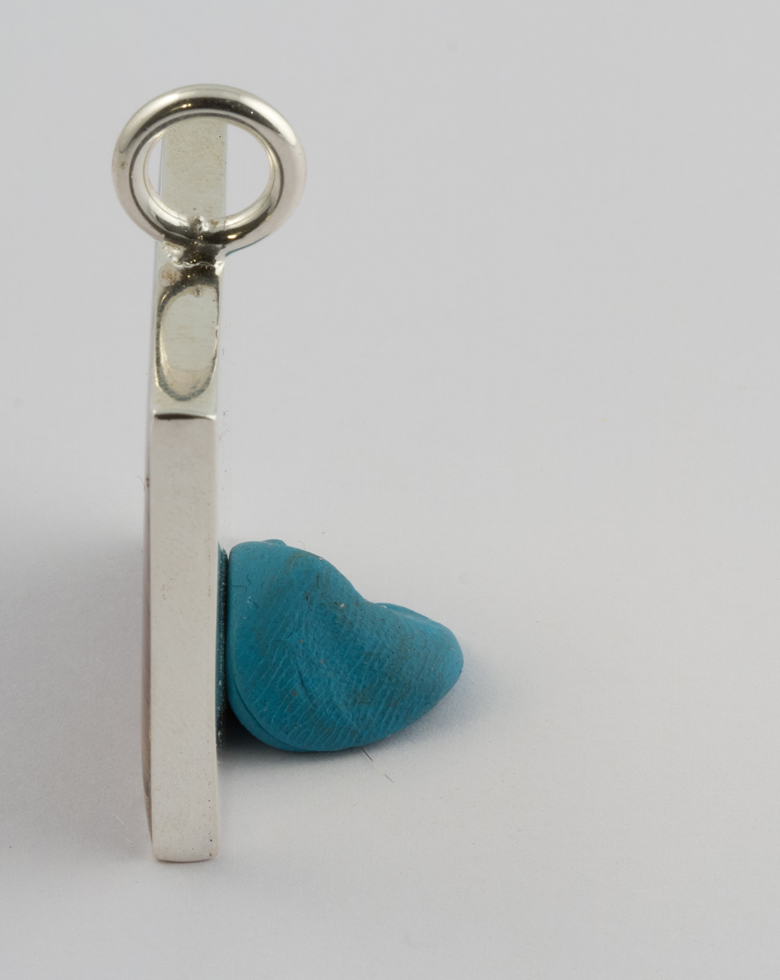
Here it is again–I shoot with a shallow depth of field so that the background is out of focus, drawing attention to my piece. The colours are accurate, the lighting is even, the photo is beautiful and I could use this in an Etsy listing. This shallow depth of field is the only detail that is not covered in the technique below.
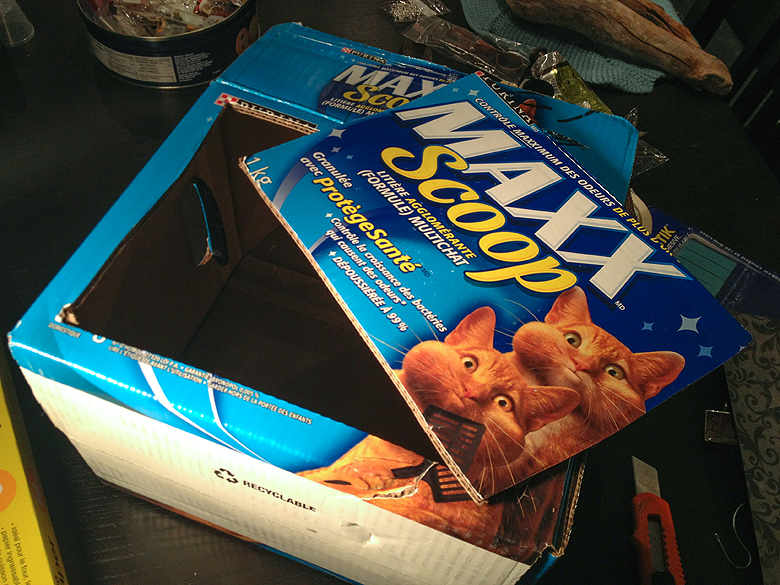
Now, to show that I can achieve everything else about this image without any expensive equipment I will use a sturdy cardboard box (kitty litter, in this case) a knife, tape and parchment paper.

I cut out the 4 sides of the box, leaving only the bottom and the ‘frame’ (corners) intact.

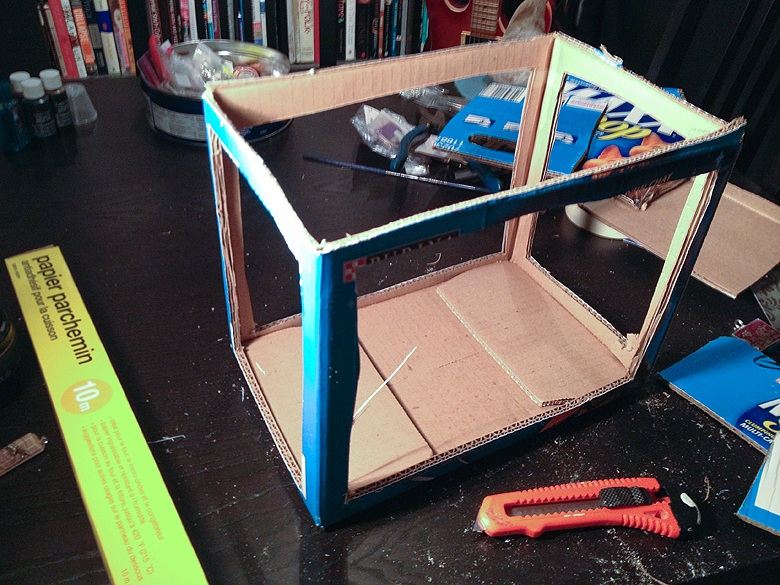
I taped parchment paper over each of the 4 holes.

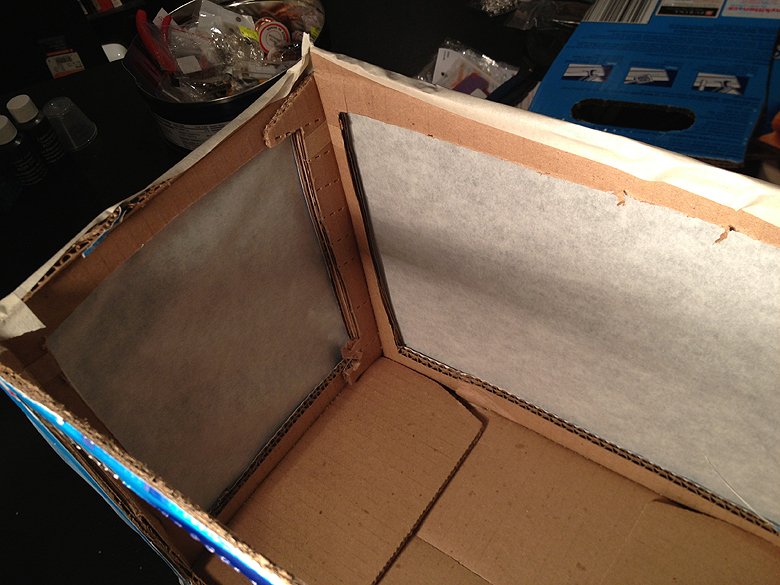
I taped a nice piece of paper inside (you can use fabric, origami paper, or even wrapping paper)
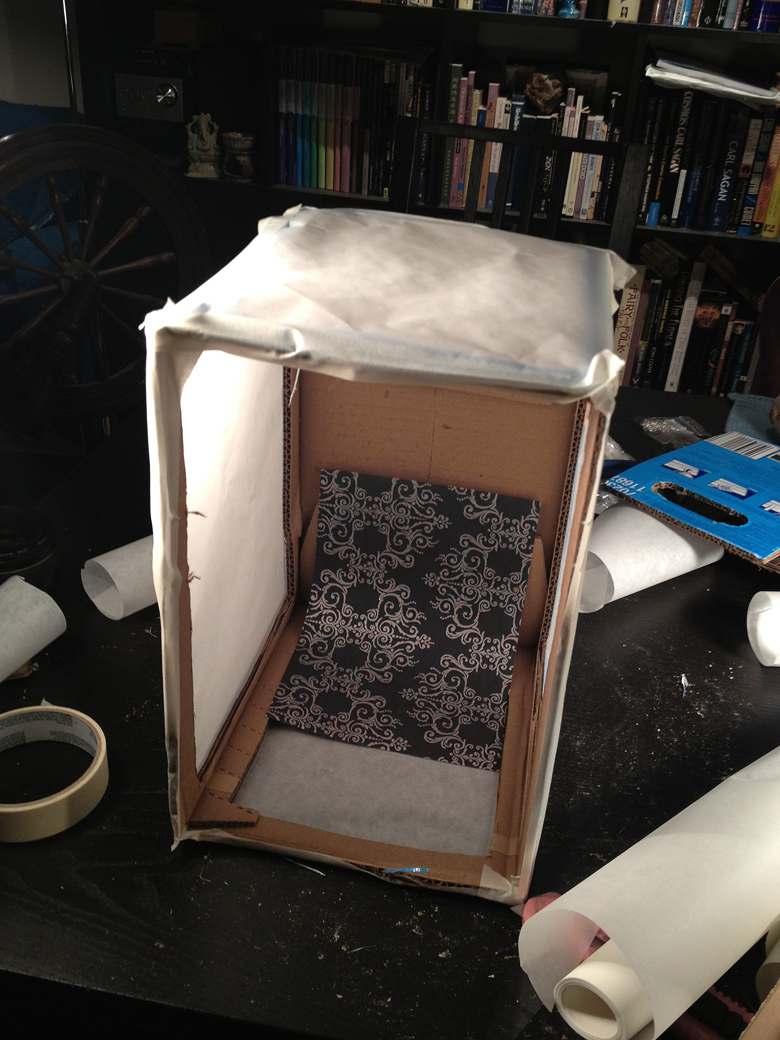
I don’t need great lighting for this to work; I just put the piece near a bright window. The important thing is to diffuse the light that’s hitting the jewelry. This shot was taken with my phone camera :) Any point and shoot digital camera will do just as well.
If you use the DIY lightbox technique, and feel like sharing, I would love to see your photos!