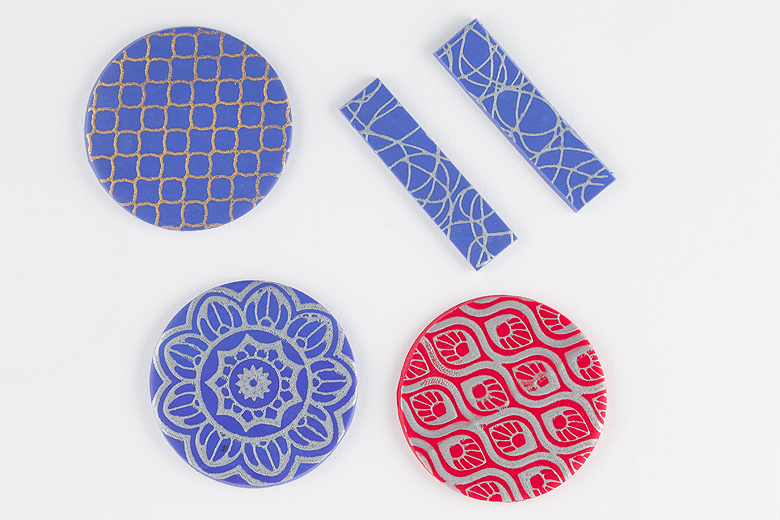
I’m sure by now you’ve noticed a theme for the Blue Brick this month–as a Christmas gift to my readers I’m trying to post nothing but crafting tutorials until Christmas day! I wanted to go for 12, but that might have been a bit ambitious ;) Here’s number 4!
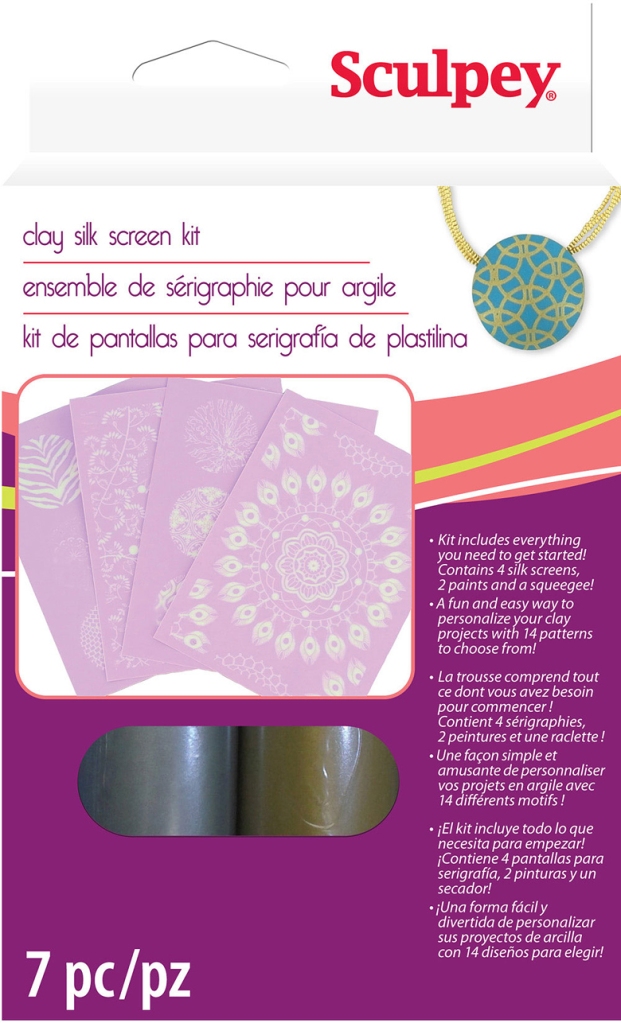
This tutorial covers the Sculpey Silkscreen kit. This thing is awesome. It’s a fool-proof way to create gorgeous patterns on your polymer clay, which you can then manipulate into anything you want. I had so much fun with this that I had to divide it into two tutorials, just to show off everything I tried.
You will need:
- Polymer clay
- Sculpey Silkscreen kit
- Acrylic roller or pasta machine
1. Roll out your clay, by hand or using a pasta machine, to about 1/8 inch thick.
2. Your kit came with a number of silk screens. Place the one you want, shiny side down, onto your polymer clay. Run your finger lightly over the entire surface, to make sure that the silkscreen is firmly in place.
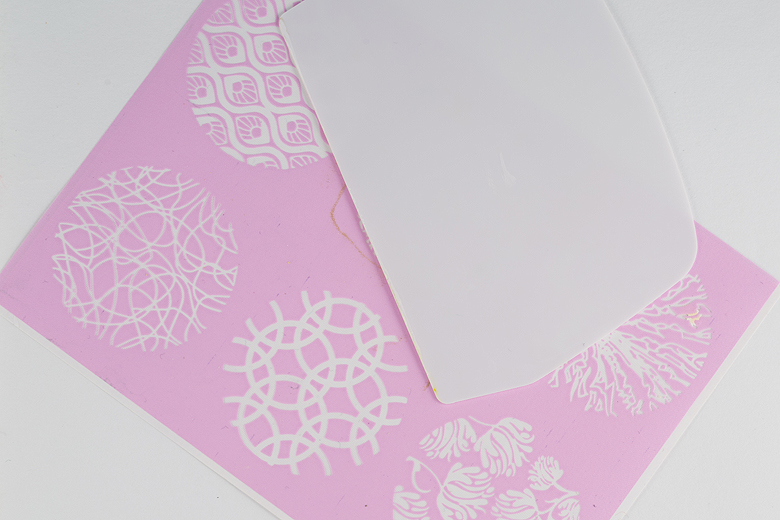
3. Your kit also came with sculpey paints. Squeeze a line of paint, just outside of the patterned area.
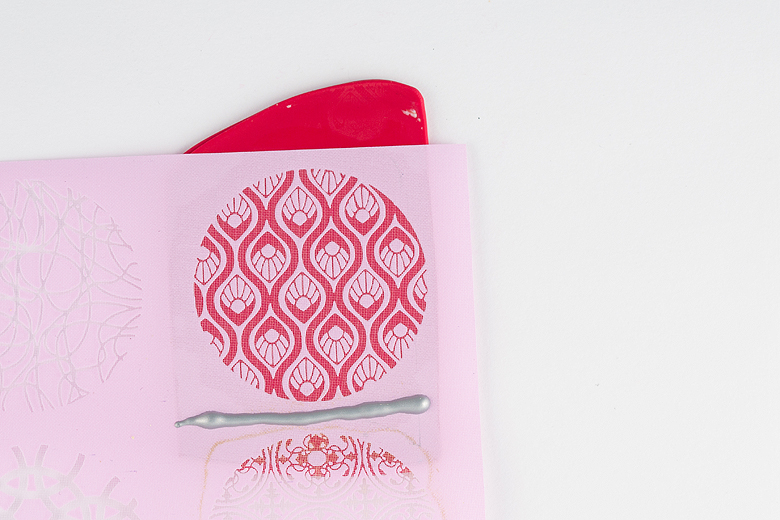
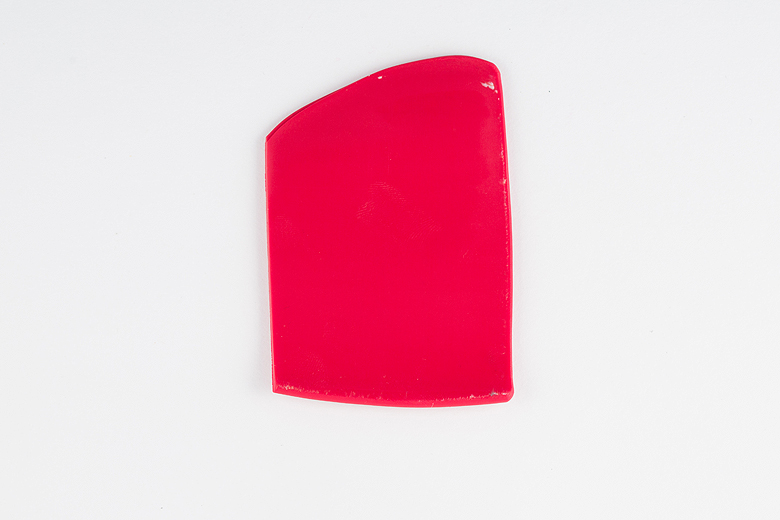
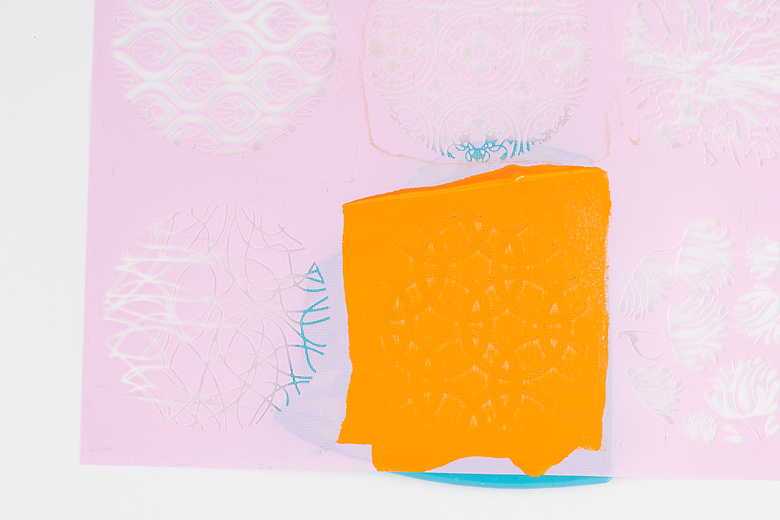
4. Using the plastic tool that came with your kit, spread the paint throughout the pattern, being careful to get every detail.
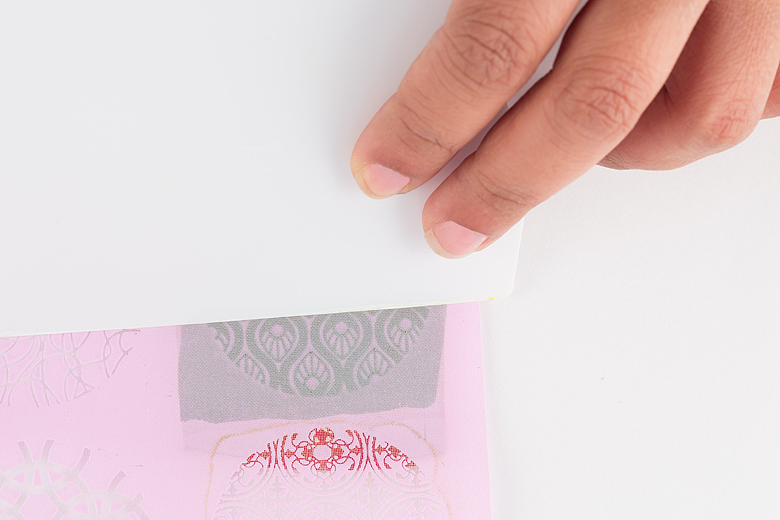
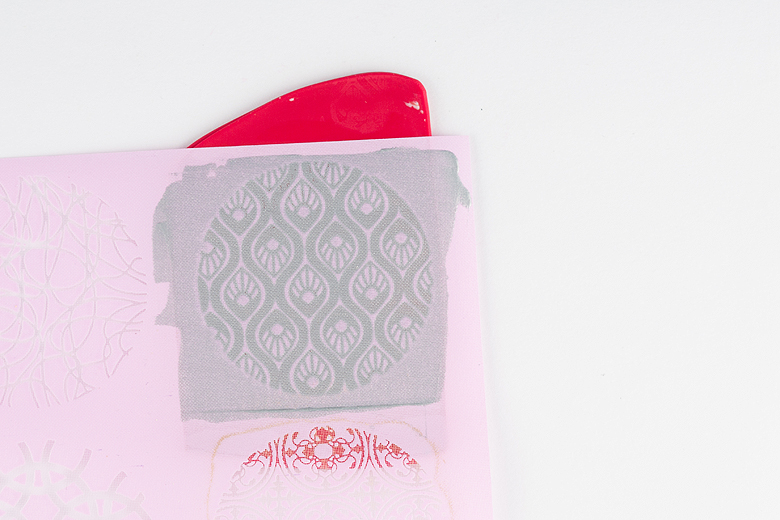
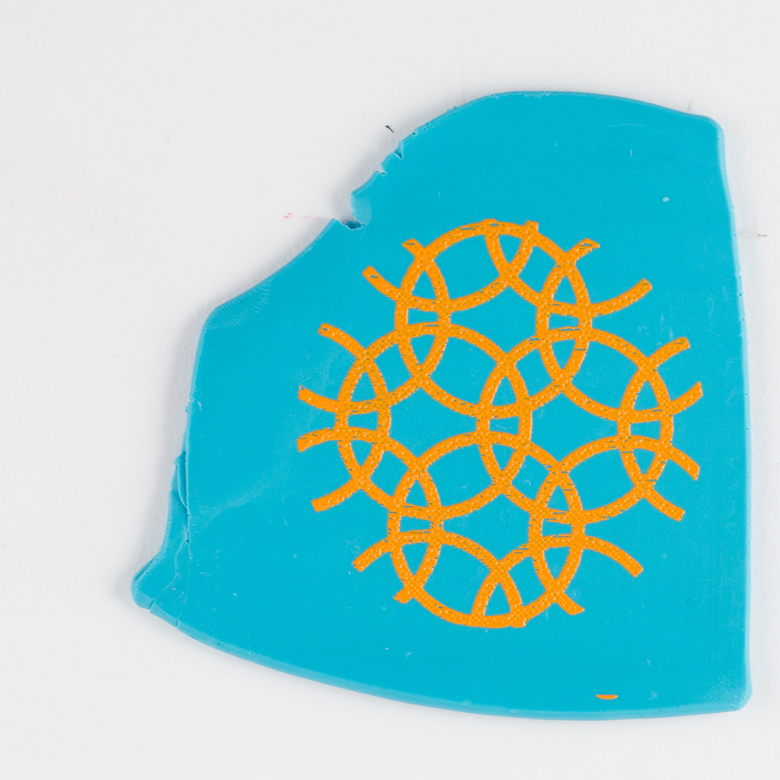
5. While the paint is still wet, peel away the silkscreen to reveal your design. Get the silkscreen sheet and the plastic tool into warm water right away to rinse off the paint before it has a chance to dry. Take the time to rinse it off and pat it dry before doing another piece.
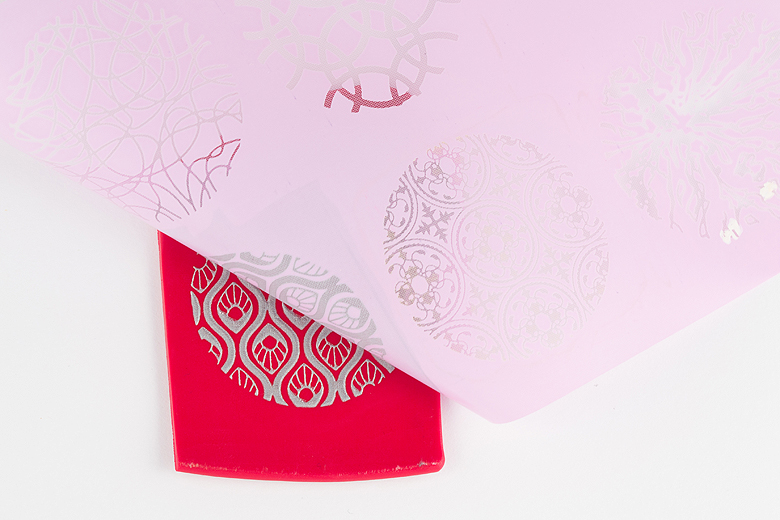
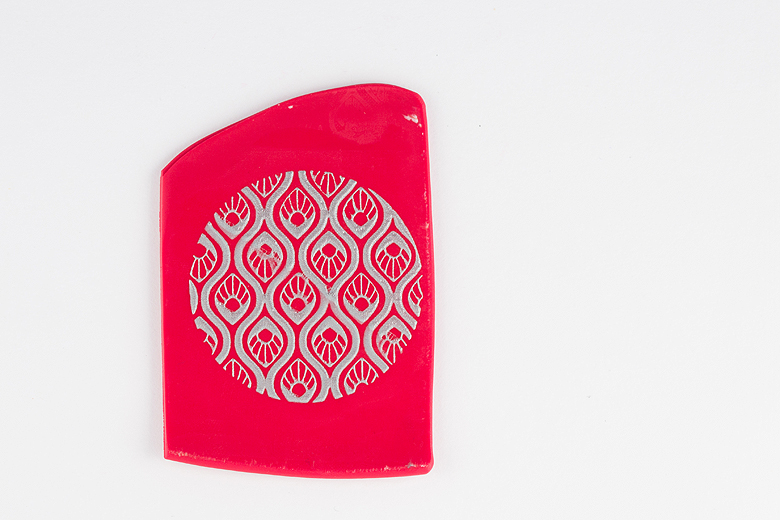
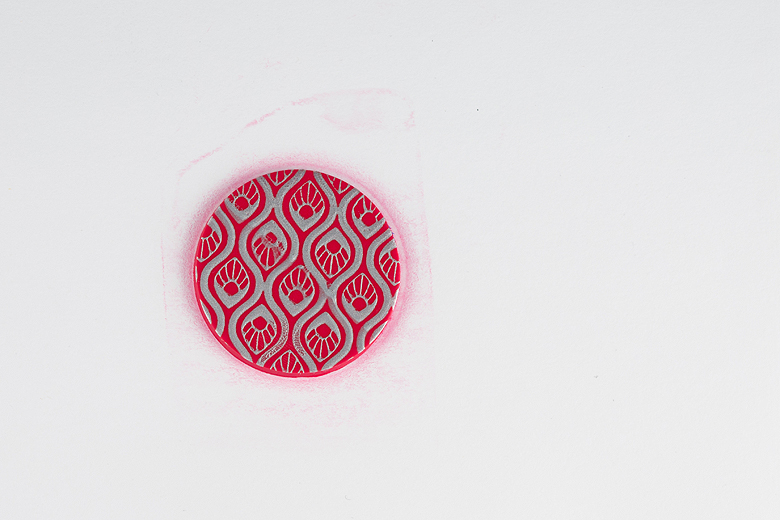
6. I used a round cutter to slice out my piece, it’s now ready for me to bake, or use in another design.
7. To open up more design possibilities, I was curious about whether I could use ordinary acrylic paints with my silk screen, rather than being limited to the 2 colours that come in the kit.
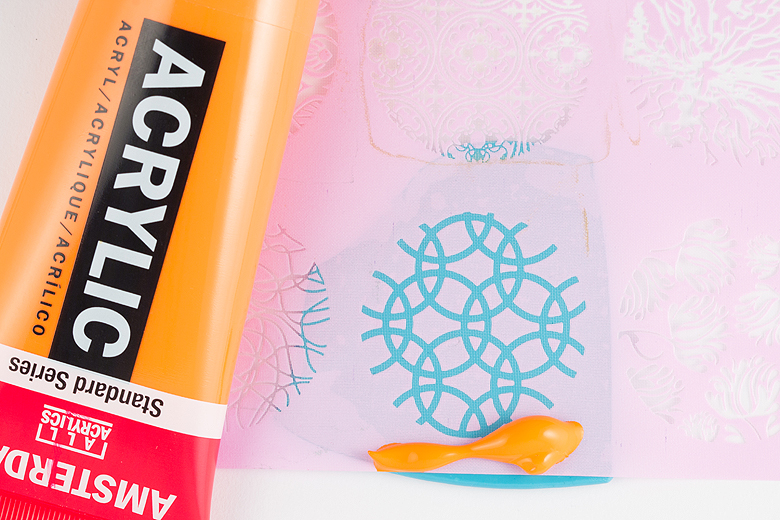
8. I proceeded as above, and it works beautifully :)
Next tutorial I’ll show you how to take this skill farther, to incorporate it with other techniques and even add metal inclusions!
